For Best Results … Finishing with Stain
Posted by The Handprint Team
Finishing a project with stain can feel a little scary for beginner makers. Probably because, as its name suggests, it's just so ... permanent. It's also less familiar than more common finishes we've all experienced, like paint.
But you really don't have to let that little can unnerve you. With just a few basic pointers, you can use stain to bring out your project's gorgeous woodgrain like a seasoned creator.
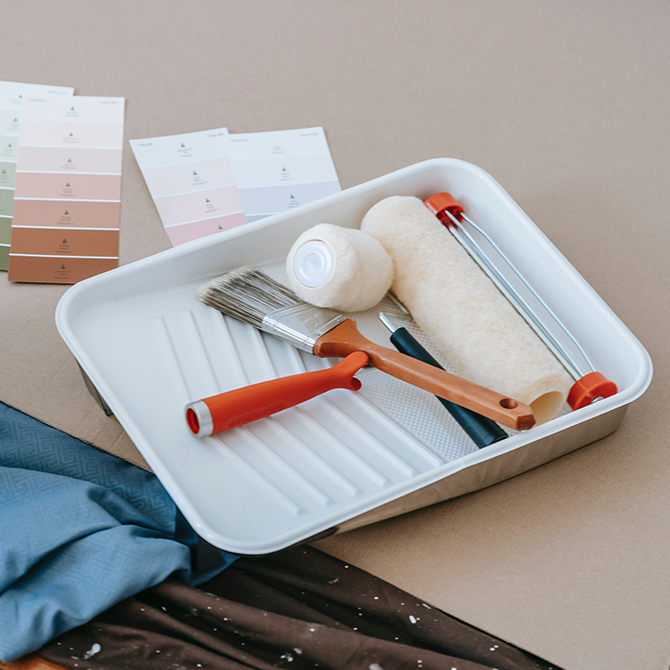
Protective gear for staining includes:
-
Safety glasses
-
Dust mask for sanding
-
Ear protection if you're using an orbital sander
-
Respirator if you're using oil-based stain and have a sensitivity to fumes
-
Latex or rubber gloves to prevent your hands from getting stained
-
An apron to save your clothes
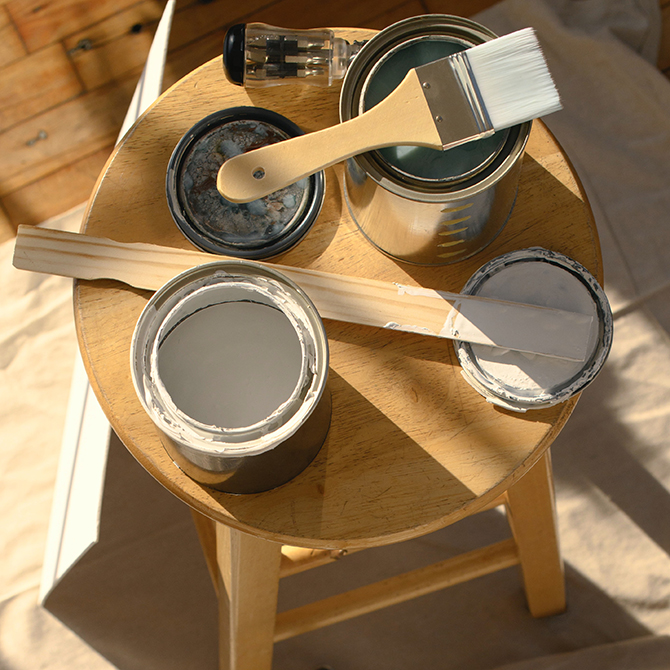
Additional supplies for staining projects include:
-
Dropcloth or other worksurface protection
-
Paint clothes or an apron
-
Stainable wood filler
-
3 grits of sandpaper (see Sand your wood below for details)
-
Random orbital sander (optional)
-
Shop vacuum and/or tack cloths to remove sawdust
-
Prestain wood conditioner - choose oil-based or water-based to match the base of your stain
-
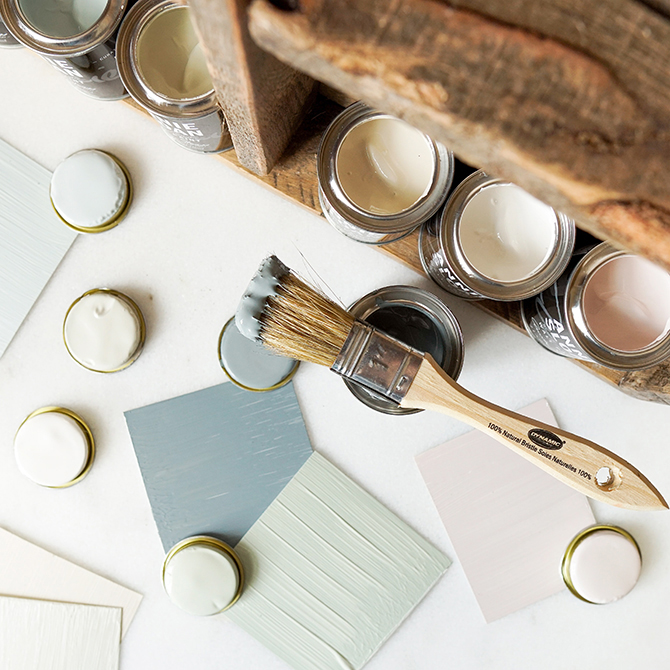
Oil-based or water-based stain
-
2 lint-free cloths (one for applying stain; one for wiping it away -- old, cut-up t-shirts work great!)
-
Foam brushes
-
Clear polycrylic protective finish
Plan your timing
While stain is typically pretty forgiving, consider the weather before deciding when and where to start your project. Stain takes longer to dry in:
-
High humidity
-
Cold temperatures
-
Hot temperatures
-
Direct sunlight
If possible, plan to stain when temperatures are moderate and humidity is low. If outdoors, find a spot in the shade. Inside, choose a well-ventilated area.
Prep your workspace
If you're not working in a dedicated project area, cover your work surface with a dropcloth to protect it from sawdust and drips.
Raise the grain if using a water-based stain
Most of us know that wood is a porous material that expands when wet. In fact, that's what woodgrain is -- the pattern of the wood's pores. That’s why any water-based stain or finish causes swelling that creates a fuzzy texture called a raised grain.
While raising the grain is usually something we try to avoid, when it's inevitable, swelling the wood fibers first, intentionally, leads to the best results later. Because if you don't raise the grain now, your stain will, ruining your perfectly smooth-sanded surface. But purposely raising the grain early puts it behind you and makes your sanding time more worthwhile.
If you're planning to use any water-based products, like prestain wood conditioner, stain, or a topcoat, wet the surface of your wood with water and allow it to dry for at least 3-4 hours. Overnight, even better.
Apply wood filler
If your wood isn't quite premium, stainable wood putty can be used to smooth over chips, dents, nail holes, and more. It's easy to use, sandable, and comes in different colors to match your wood or stain. Follow the manufacturer's instructions and allow it to dry completely before sanding away excess.
Sand your wood
Sanding opens your wood's pores and helps the stain absorb more deeply into the grain. If you need a quick refresher on sanding, read our tutorial before getting too far.
Then when you're ready:
-
Start with #80 grit sandpaper if your wood is bare
-
Start with #120 if it's been presanded
-
Choose at least one grit level in between, like #150 or #180
-
End with #220
Sand every surface stain will touch, giving extra attention to corners and details. When finished, use your shop vac brush attachment to suck up as much sawdust as possible. Wipe away the rest from the nooks and crannies with a tack cloth.
Apply a prestain wood conditioner
Ironically, the kind of wood you most often want to stain (because it needs beautification) is also the kind that's most likely to blotch when stained, like pine. A prestain wood conditioner soaks into the wood fibers to even out the amount of color the grain will absorb, helping prevent blotches and streaks. Apply a thin, even coat of wood conditioner with a clean cloth and allow it to dry for about 15 minutes, then wipe it off. This extra step is worth it. Even absorption = consistent overall color.
Test your stain before starting
If you're using an oil-based stain, stir it thoroughly with a paint stick. (Don't shake the can - you'll create micro-bubbles that can transfer to your wood and leave the surface rough.)
Once you've evenly distributed the pigments in the can, dip your foam brush or clean cloth in about 1/2" and apply a small amount of stain to an inconspicuous spot. Let it sit for just a minute or two, then use a clean cloth to wipe it away. This test will help you gauge how quickly the color is absorbing and how dark it'll be with more or less time. If you prefer a darker color, do a second test and let it sit for 10 minutes or so.
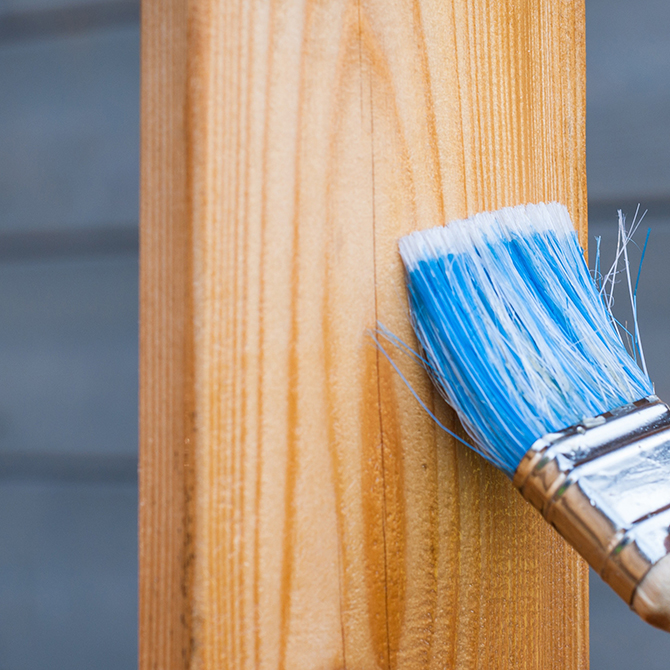
Apply stain to your project
Once you're feeling more confident about how much time to let your stain sit, wet a clean cloth with fresh water, wring it out as well as possible, then soak it with stain.
Apply a good, liberal coat as evenly as possible, working it into the wood in all directions with your cloth. An inexpensive small foam brush with an angled tip will get into tight corners, crevices, and areas with detail -- anywhere the cloth is too bulky to reach.
Within a 3-6 minutes, your wood will have absorbed all the stain it can, and the extra will be sitting on the surface. Don't try to get a darker color by letting unabsorbed stain sit until it’sdry. Instead, before drying begins, wipe away the excess in the direction of the grain.
To get a darker, richer tone, allow the wood to dry for at least 12 hours (24 hours is ideal), then apply a second coat. If you don’t wait, the new coat will dissolve the coat below it.
Finish with a protective sealant
Stain does precisely what it claims. It stains – providing color, but no finish. It doesn't shine, seal, or protect your project.
That's where a clear topcoat of polycrylic in the sheen of your choice comes in. Wait a couple days for your stain to dry completely (very important!), then apply a coat of clear finish. A water-based topcoat can be used over an oil-based stain, but only after 24 hours when the mineral spirits in the stain have evaporated.
Follow the manufacturer's instructions carefully and use long brush strokes, moving in the direction of the grain. If you’d like to apply a second coat of finish, let the first coat dry completely, then sand with #180 sandpaper before applying. Let your project dry for at least 1-2 days before using – 3 is even better.
Final Thoughts
Once you've grown comfortable using stain, you’ll get more creative. Stains can be mixed into custom colors, or try one of the newer two-in-one stain and finish products. With infinite ways to finish a world full of projects, don't be afraid to add staining to your mad maker skillset.
Tip:
Don't be shy about getting your cloth and brush really saturated -- just short of dripping -- because you don't need to worry about applying too much product. Stain works by soaking into the wood, not by sitting on top like paint. It's made to flow into recessed areas, so you need to apply enough to get a good amount absorbed deep into the wood fibers.