Achieving Next-level Results from Sanding
Posted 10/20/2022 by The Handprint Team
We say it all the time, but we continue to be amazed by what a little sandpaper can do for your DIY wood projects. Need a few more tips to boost your sanding skills from good-enough to life-changing? Grab a dust mask, and get ready to hit new levels of project success and satisfaction.
- Sanding wood DIY projects with curved surfaces is easier with cylindrical-shaped sanding blocks. Make your own from pool noodles for large areas, or buy a set of small pads shaped to fit a variety of small, curved profiles.
- When making your own sanding blocks, consider sandpaper with adhesive backing.
- In tight spots where it's hard to sand with the grain, stick adhesive-backed sandpaper to the blade of a flexible putty knife. Trim to fit, and you'll have no trouble reaching into corners.
- Look for rolls of sandpaper instead of sheets, if preferred.
- Painted surfaces and sappy wood can clog sandpaper. Try kinds that say clog-resistant, no-clog, no-load, or open-coat. These use a special film that slough away residue, leaving the grit continually exposed.
- Sand in bright light to best assess your progress. The brighter the lights - like shop lights or even photography lighting - the more the flaws will show and the smoother you can get your easy DIY wood projects.
- After your final sanding, if you can't apply finish right away, wrap your project in plastic wrap until you can get back to it. Especially in climates with frequent changes in temperature or humidity. The plastic wrap keeps your freshly massaged, open-pored wood from warping until you can get back to apply a protective finish.
- End-grains are anywhere the wood has been cut across the grain, like at the ends and along cross-cut edges. These spots absorb stain more readily than the rest, so extra sanding (but not over-sanding) helps seal the wood enough to lessen absorption.
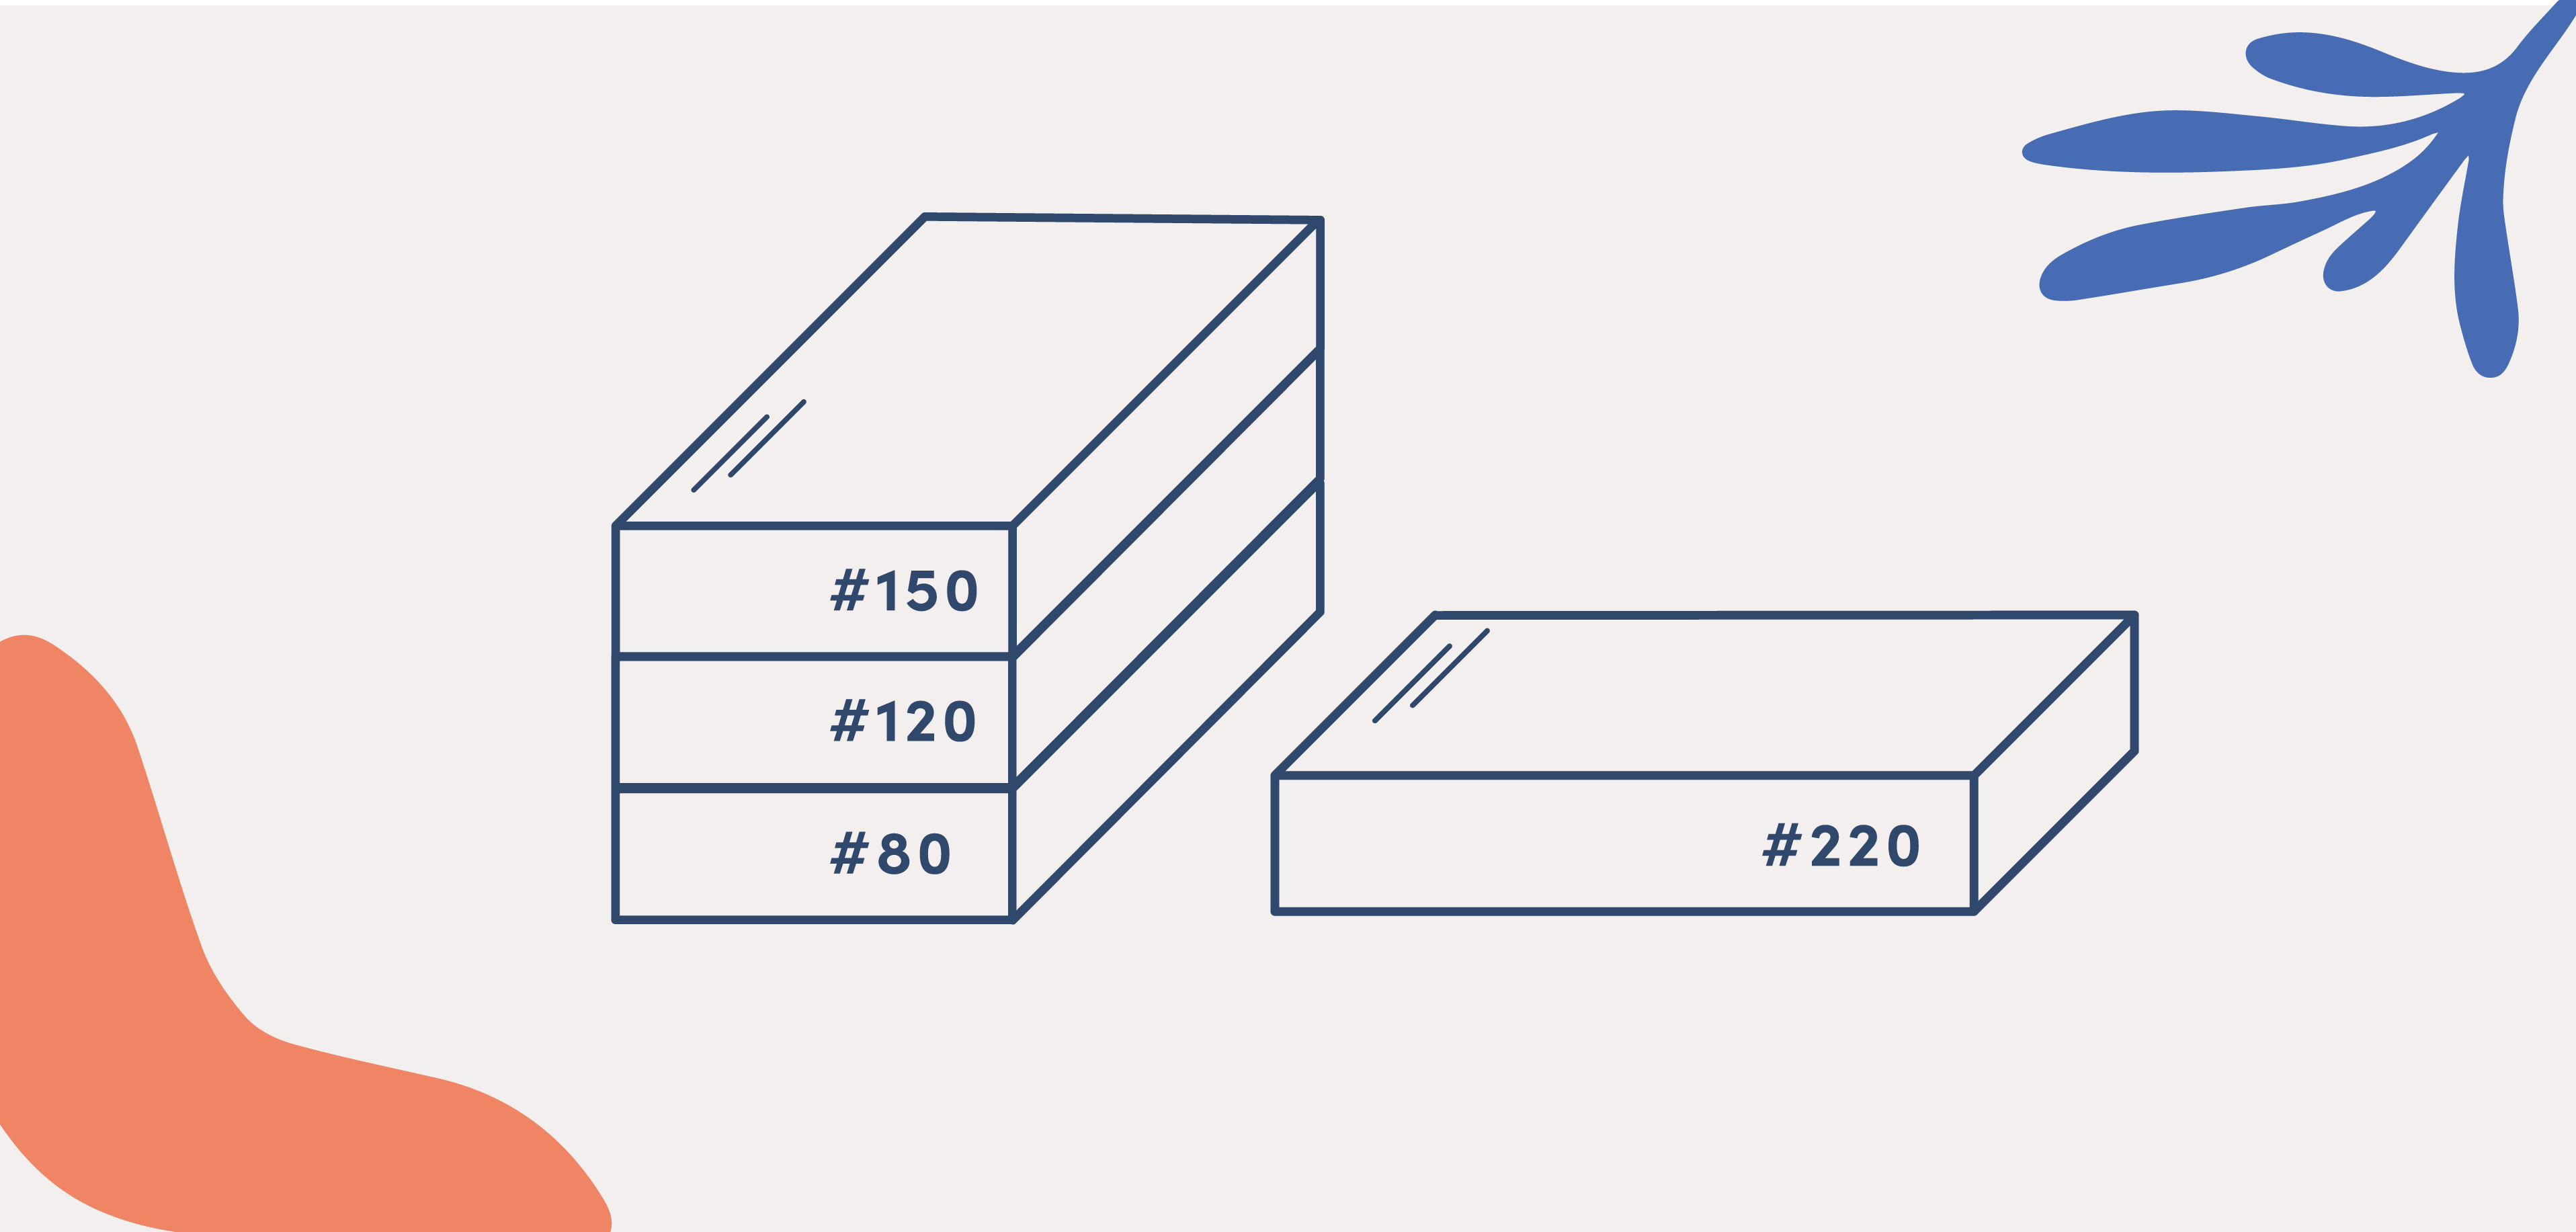
- More expensive, premium sandpaper is worth the money. It's sharper -- so it works 2-3 times faster -- and it stays sharper longer, saving money in the long run.
Tips:
For a plywood project that looks like it's made from solid wood, hide the plies on the edges using edge banding, available in a variety of widths and colors/species. Or, cover with a thin strip of natural, solid wood called screen molding, available in the most common thicknesses of plywood.