A Handprint Guide to Fastening with Screws
Posted by The Handprint Team
From nuts and bolts to staples and anchors, there are all kinds of fasteners for all types of projects. But in The Makerverse, the most common are screws and wood glue -- each so important, they earn their very own blogs. Learn to use them in combination, and your projects will soon be as solid as your fastening skills.
What's essential to know about working with screws? As with most things, a good grasp of the basics helps, so we'll focus on:
-
Choosing the best screws for your project
-
Attaining a smooth surface
-
Achieving the strongest holding power
How to Choose the Right Screw
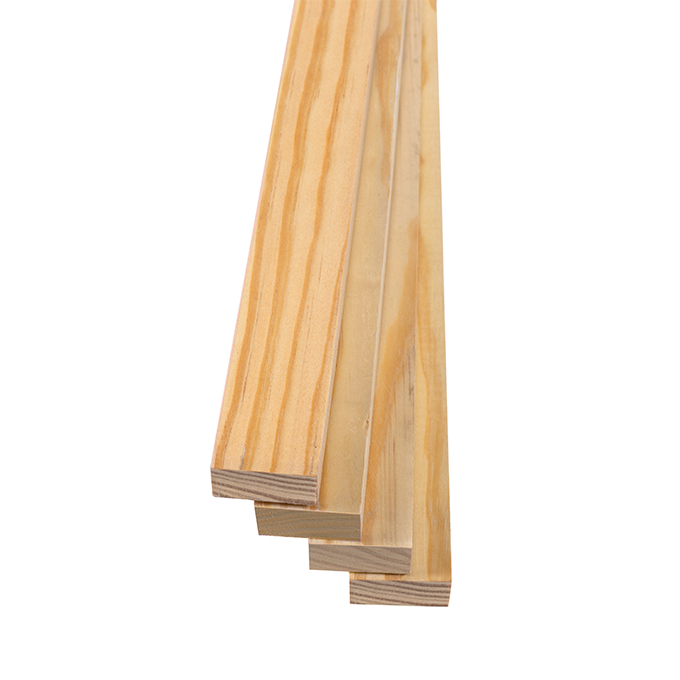
Choosing the best screw for your project depends on several factors. First, are you making an indoor or outdoor project? Indoor projects don't need protection from the elements, so you can choose the most basic, affordable, standard zinc flat head wood screws. They're the ones with an inverted cone-shaped head. But for outdoor projects exposed to the weather and its ever-changing conditions, we recommend silicon-coated bronze or stainless steel flat head wood screws.
A second consideration for choosing the best screw is the thickness of the wood pieces you're attaching. Choose a screw that's long enough to go at least halfway through the bottom piece of your assembly.
And what's that number all about? That's the screw's gauge (diameter). Gauges range in thickness from #2 to #16, thinnest to thickest. The thicker the gauge, the less likely the screw will break. Happily for makers, a standard #8 almost always fills the bill. Exceptions are projects made from extra-thick wood (then a #12-14 is recommended) and more delicate projects requiring a #6 or so.
Your last choice in screw selection is head style, aka drive type -- as in slotted, Phillips, etc. And the variety is dizzying. Still, quadrex and star drive heads deserve note. These are designed for extra control -- reducing slipping and stripping -- and they're easier on your bits too.
How to Get the Smoothest Surface
If your project aesthetic calls for exposed screw heads, drive in your screws until their flat tops are just flush with your wood's surface. However, when it feels like those screw heads are the only things standing between you and the perfectly smooth finish you envision, take heart. It's still achievable! It's where countersinking comes in.
Countersinking is when you drive a screw in until it's below the surface of your wood -- past flush. To achieve this, use a countersinking bit that matches the size of your screw head. A countersinking bit carves out a cone-shaped hole for the cone-shaped head of your wood screw to nestle into. If you're going to finish your project with paint or stain, top-off the holes with paintable/stainable wood putty, allow to dry, then sand flush. Presto! Your surface is once more perfectly smooth for finishing.
How to Achieve the Strongest Holding Power
There are several key factors to a screw's holding power. The most important for makers includes choosing the correct screw length (discussed above), thread type, and predrilling.
With thread type, there are coarse and fine varieties. Coarse-threaded screws are best for softer materials, like MDF. They provide a lot of grip that makes fastening quicker and easier. Some have sharp, serrated points and edges to bite through thick material even faster. The threads of fine-threaded screws, on the other hand, are set close, making it easier to bite through harder materials, like hardwood. Fine-threaded screws take longer to fasten, but they handle odd angles well and ensure extra-tight connections.
Whether a pilot hole is drilled or not affects a screw's holding power too. Fastening a screw into a properly sized, predrilled pilot hole creates a much stronger connection. If you've ever tried fastening a screw without predrilling first, you know how hard it can be to tighten. That's because a screw without a pilot hole actually pushes apart the pieces you're trying to join. Read more about best practices for drilling and driving screws in our blog dedicated to the topic, including tips for choosing the right bit for your screw head and much more.
Final Thoughts
With a few trips to the fastener aisle in your rearview, choosing the best screws for your project will soon be second nature. And once you're in the habit of fastening with both wood glue and wood screws, predrilling and countersinking your holes, and using paintable/stainable wood putty to achieve a pro finish, your projects will elevate to a whole new level.
Tips:
Check the packaging for the four pieces of information discussed above to choose the best screw for your project:
-
"For indoor/outdoor use" or screw material info (zinc for indoors, stainless for outdoors, etc.)
-
Gauge (#2-16)
-
Length (ex. 1/2" or just 1/2)
-
Drive type (ex. quadrex, star, etc.)