Create Geometric Art with Tape + Paint
Posted by The Handprint Team
Call it hard-edge painting or masking tape art, tape-and-paint projects all use basic stenciling techniques to create striking, straight-line graphics. From exotic Aztec-inspired boho patterns to bold mid-century modern color blocks, all you need is a wood surface, tape, and your favorite acrylic colors.
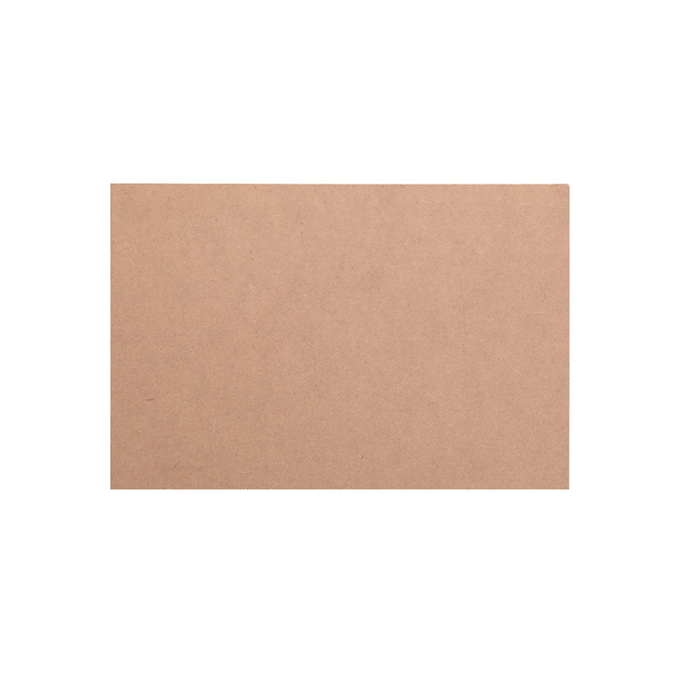
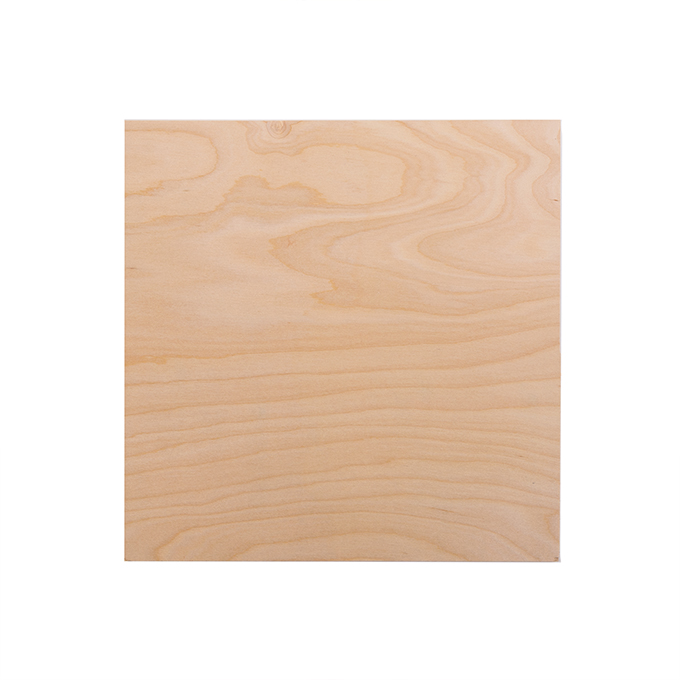
1. Prep your wood surface
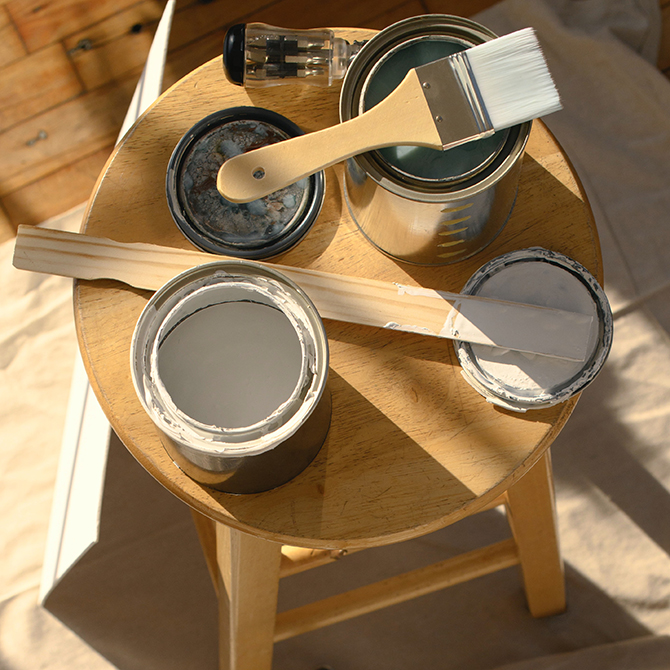
Start by sanding, priming, and painting your wood surface. (Find catch-up tutorials at the links!)
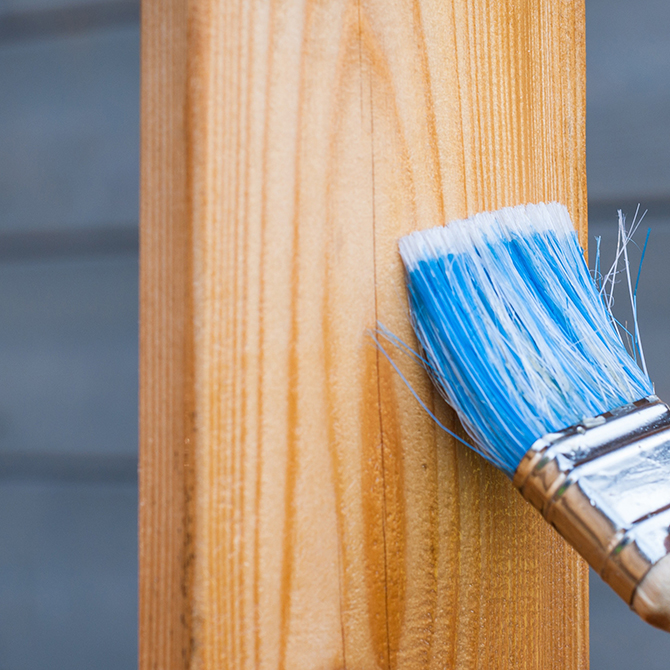
Lightly sand with 200+ fine-grit sandpaper between each coat of primer and paint. This creates an extra-smooth surface for optimal tape adhesion and the sharpest lines.
Or try something new and experiment with gesso, applying 2-3 thin, even coats to your wood surface.
2. Research a design + start taping
Fortunately for makers, there's YouTube, where a search for hard edge painting or masking tape art sends you down a rabbit hole of inspiration and how-tos. We recommend starting there to see what kind of designs makers are creating, the tape they recommend, tutorials, tips, tricks, etc.
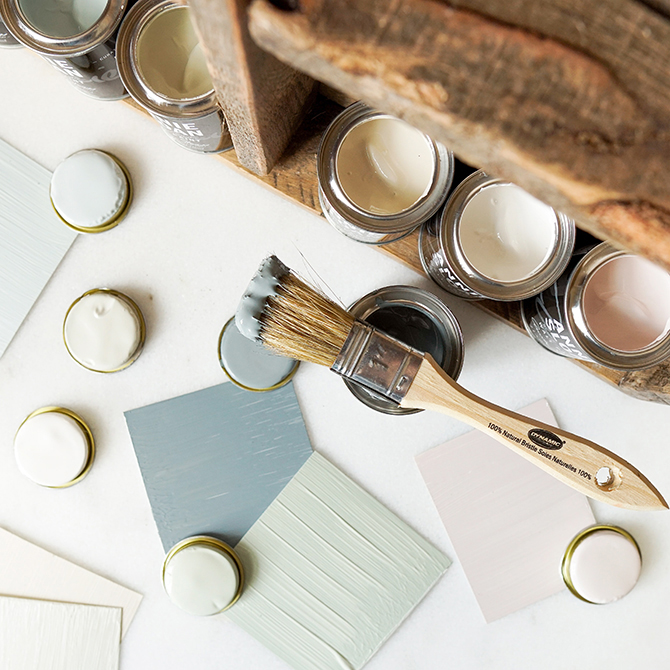
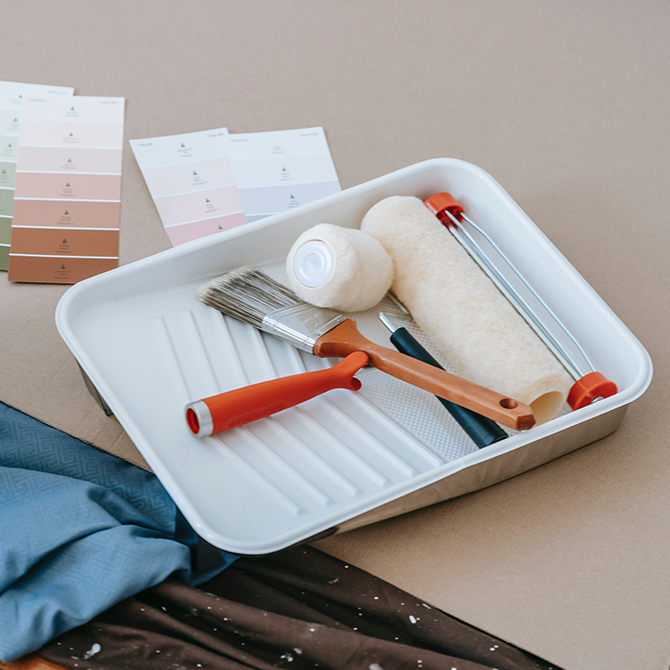
When selecting tape, test a few low-tack varieties to see which you prefer. (Choose low-tack so it doesn't pull up any finish or leave any residue.) From inexpensive white masking tape to basic blue painter's tape, you'll be surprised by how effective and affordable the options are.
When applying the tape, it's important to thoroughly burnish the edge you'll be painting. This is especially true when working on a textured surface. That means the smoother you get your wood during prep, the crisper your hard-edge results. To burnish, apply firm, even pressure with your fingernail or a squeegee-type tool used for pressing on smart vinyl and decals.
3. Tape + paint one section at a time
If your goal is to create the sharpest lines possible, it's all about preventing the paint from creeping under the edges of the tape.
To create precision lines, before painting, try one of two methods. Either apply a thin layer of clear matte polycrylic or another thin layer of your base paint along the edge of the tape. Essentially, you want to seal down the edge of your tape with an invisible paint barrier. Both methods will stop color from bleeding under the tape and keep your line razor-sharp.
Allow the polycrylic or paint to dry along the tape line, then paint the section with the color you intend. Pull the tape away while the last coat of paint is still wet.
Creating soft edges with tape + paint
Sometimes projects call for lines that are straight but still look hand-drawn. For these times, instead of sealing the edges of the tape, use the edge only as a guide and paint only up to its edge.
In conclusion
Making custom, designed-by-you, geometric artwork can be extremely satisfying. Do your research, plan your project, and embrace trial and error. Where adjustments are needed, try a different surface finish, tape-and-seal technique, or paint thickness. Small tweaks will lead to best results.
Tips:
1. For priming, we love just a few thin coats of fast-drying spray primer
2. Use a hairdryer to dry coats of primer, paint, etc. more quickly