Understanding Sandpaper Grit
Posted 10/20/2022 by The Handprint Team

It's pretty amazing what a little sandpaper can do. But for new makers, it’s practically magic. Need a few tips to boost your sanding skills from basic to revolutionary? Grab a dust mask. Because once you've learned the transformational power of sandpaper, you’ll hit new levels of project success and satisfaction.
The most helpful thing to know about sandpaper is what the number on the package means. Called grit, it's the number of abrasive granules embedded in the paper per square inch.
The higher the number, the more granules there are, the closer they’re packed together. That’s called fine-grit paper.
Conversely, the lower the number, the fewer granules there are, the more space there is between them. That’s called coarse-grit paper.
Tips for Choosing and Using the Correct Grit
- To achieve smooth DIY wood projects, use a series of increasingly finer-grit papers. To start, choose one that's just coarse enough to easily remove imperfections. If your surface is already fairly clean and smooth, choose a medium-fine grit like #120, progress to #150, and end with #220. For rougher, lower-grade wood, start with #80, progress to #120, and end with #220.
- Select your starting grit carefully. If you begin wood DIY projects with a grit that's too coarse, you'll spend a lot of time trying to make it smooth again. If you start with a grit that’s too fine, you’ll spend a lot of time trying to remove stubborn defects.
- Each grit you use is more important than the next, so work patiently. Skipping a grit can leave scratches too deep for the next to remove.
- Coarse grits (below #100) are good for distressing, rounding corners, and smoothing out extra-rough patches.
- Before painting, try sanding with #320. It texturizes smooth grain just enough to get the best paint bond.
- Sand with #320 between coats of paint and clearcoat. This helps remove tiny bubbles and bumps, creating the smoothest possible surface.
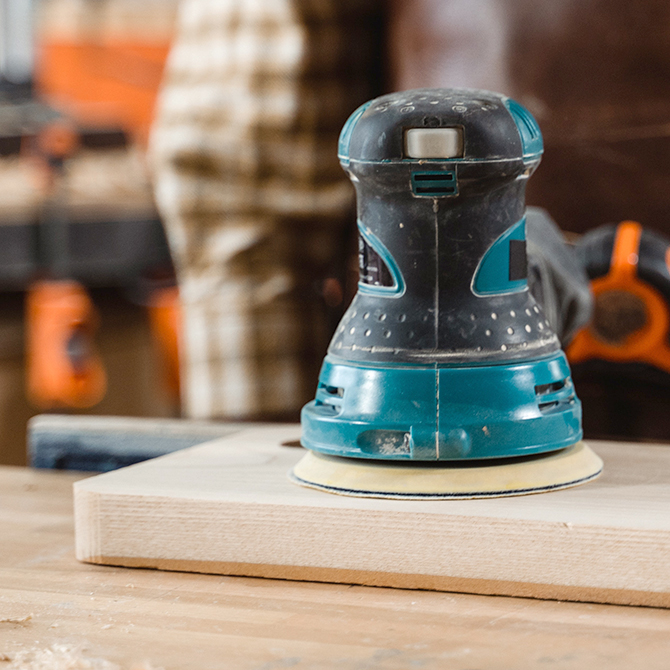


Tips for Sanding by Hand
- Hand-sanding is best for detailed or delicate projects, as well as corners and recesses. The ability to feel the wood through the paper makes sanding curves and edges more intuitive.
- Tear or cut sandpaper into pieces the size of your three middle fingers for the most control and least amount of waste.
- For larger flat surfaces, increase speed and efficiency by wrapping sandpaper around a block of wood that comfortably fits in your hand. This helps stop the paper from bunching up, rolling, and slipping. You can also buy contoured sanding blocks designed to clamp and hold the sandpaper in place.
- Using almost no pressure, draw a grid pattern across the surface of your wood with a pencil. As you sand all the marks away, you'll know you've sanded the entire surface. Repeat for each successive grit.
- Sand evenly, with steady pressure, and always in the direction of the grain. Sanding at random angles can leave scratches that show up later during finishing or even after drying.
- Don't sand edges and corners too vigorously unless you want eased edges and rounded corners.
- Change your sandpaper often, as soon as it looks worn and stops throwing off as much sawdust.
- Use sandpaper to smooth connections and knock down nail holes that were overfilled with wood putty.
- If staining, control the color intensity by choosing the correct final grit. The finer the last sandpaper, the lighter the stain will appear. The coarser the last sandpaper, the darker the stain will appear.
- Don't over-sand. You could potentially seal the wood’s pores so tightly it won't absorb any finish.
- Wipe wood with a damp rag or tack cloth to remove dust after each sanding, but especially before your first coat of finish.
Bonus Tip:
Don't sand engineered wood fiber panels like MDF, particleboard, and hardboard. These already have smooth surfaces, and when sanded, they create a lot of very fine sawdust that can irritate eyes and lungs.