How to Finish Plywood Edges
Posted 10/20/2022 by The Handprint Team

How to Create the Look of Solid Wood with Plywood Panels
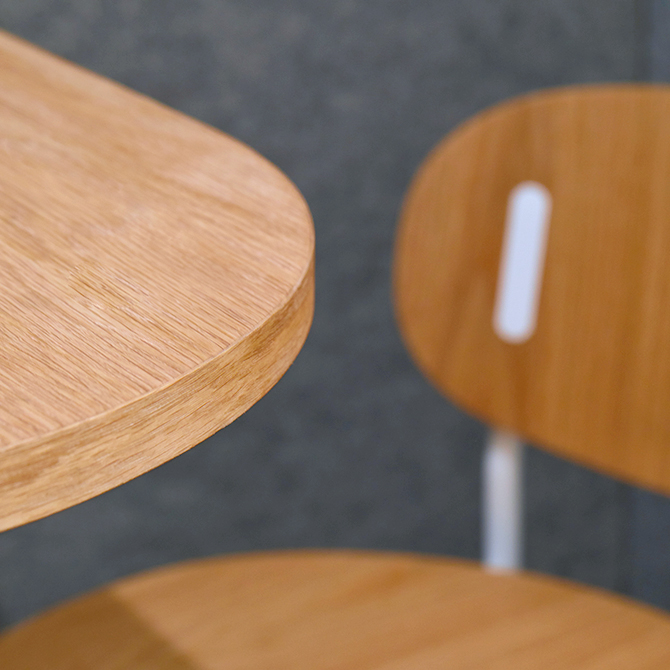
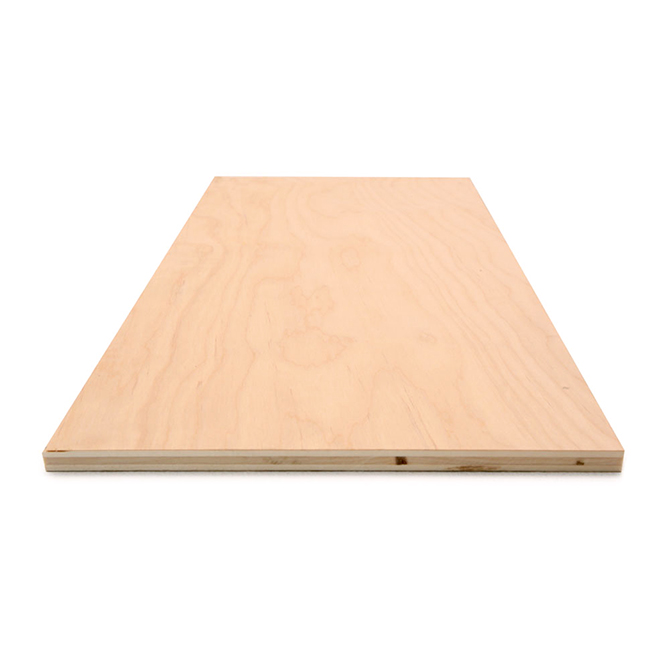
At Handprint, we love plywood. Even its exposed plies. But there are occasional projects where we don't want to see that iconic edge. At those times, here are three good ways to hide the stripes before painting, staining, or clear finishing.
Option 1: Wood Filler or Spackle
You can use a sandable, paintable wood filler to transform a plywood project into the look of solid wood. Likewise, spackle is also designed to create a smooth, ready-to-finish edge. In fact, while both wood filler and spackle go on quickly with a putty knife, some say spackle applies easier, dries faster, and sands smoother. Try both for yourself, and see which you like.
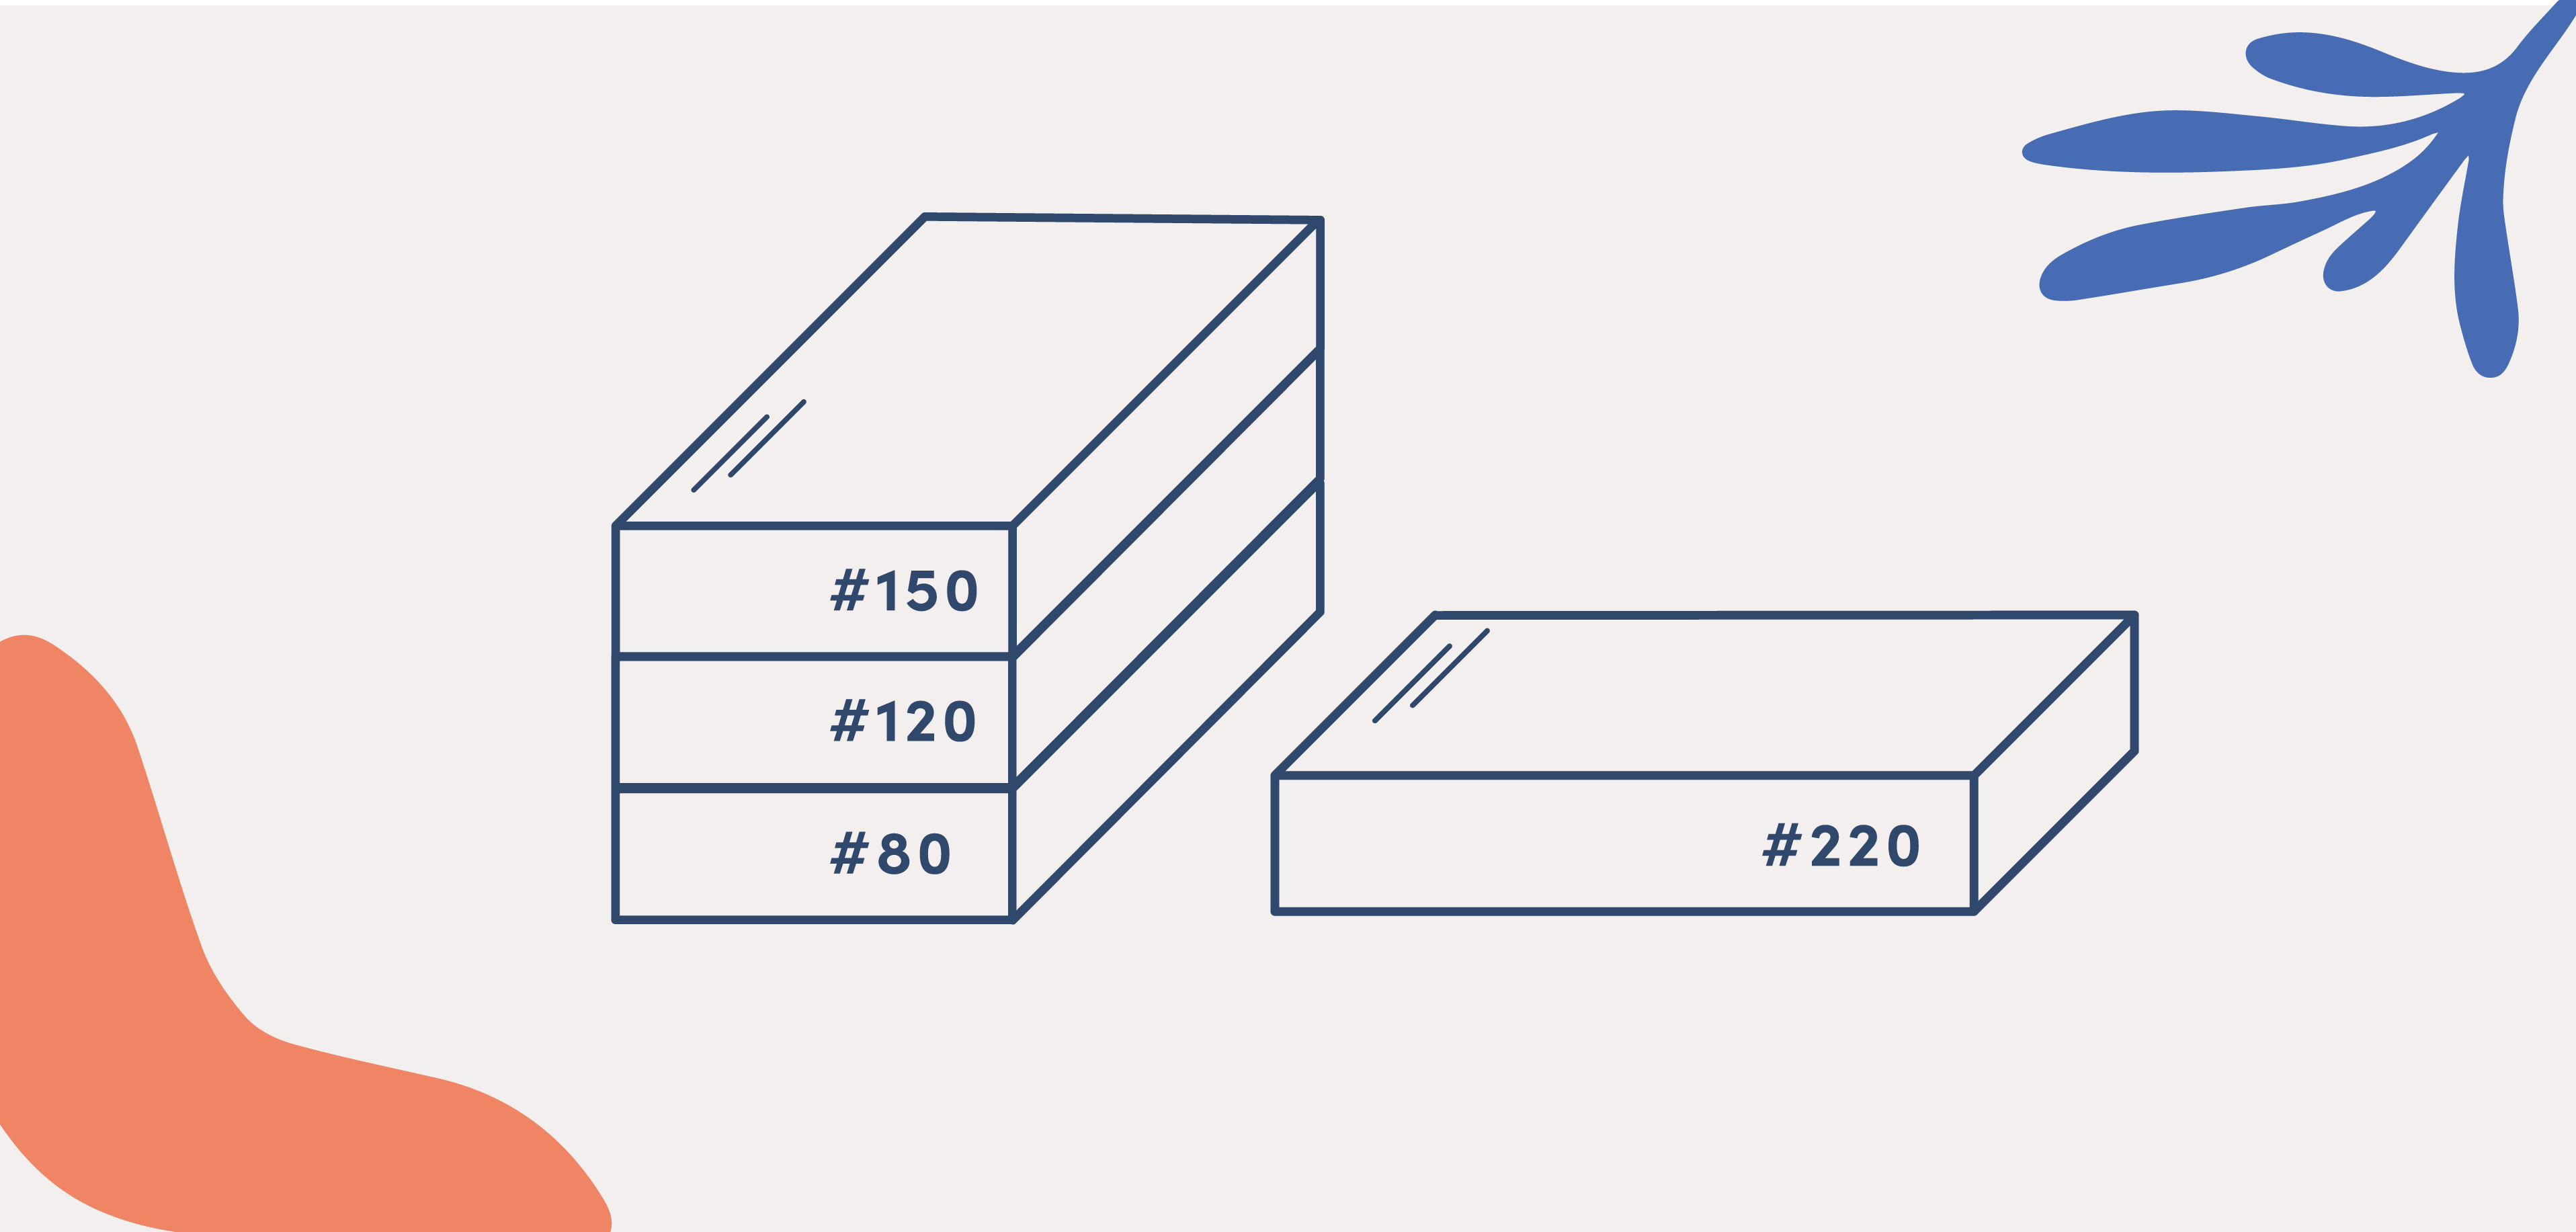
When using either of these products, the first thing to look for is any spots that need a little filling, like small gaps between plies (called voids) or small chips along the edges. Next, spread an even coat down the length of the ply edge, making sure to cover it completely. Allow this coat to dry, then use #150-180 fine-grit sandpaper to blend it into a smooth finish. If needed, apply a second coat and sand it again, creating a paint-ready surface.
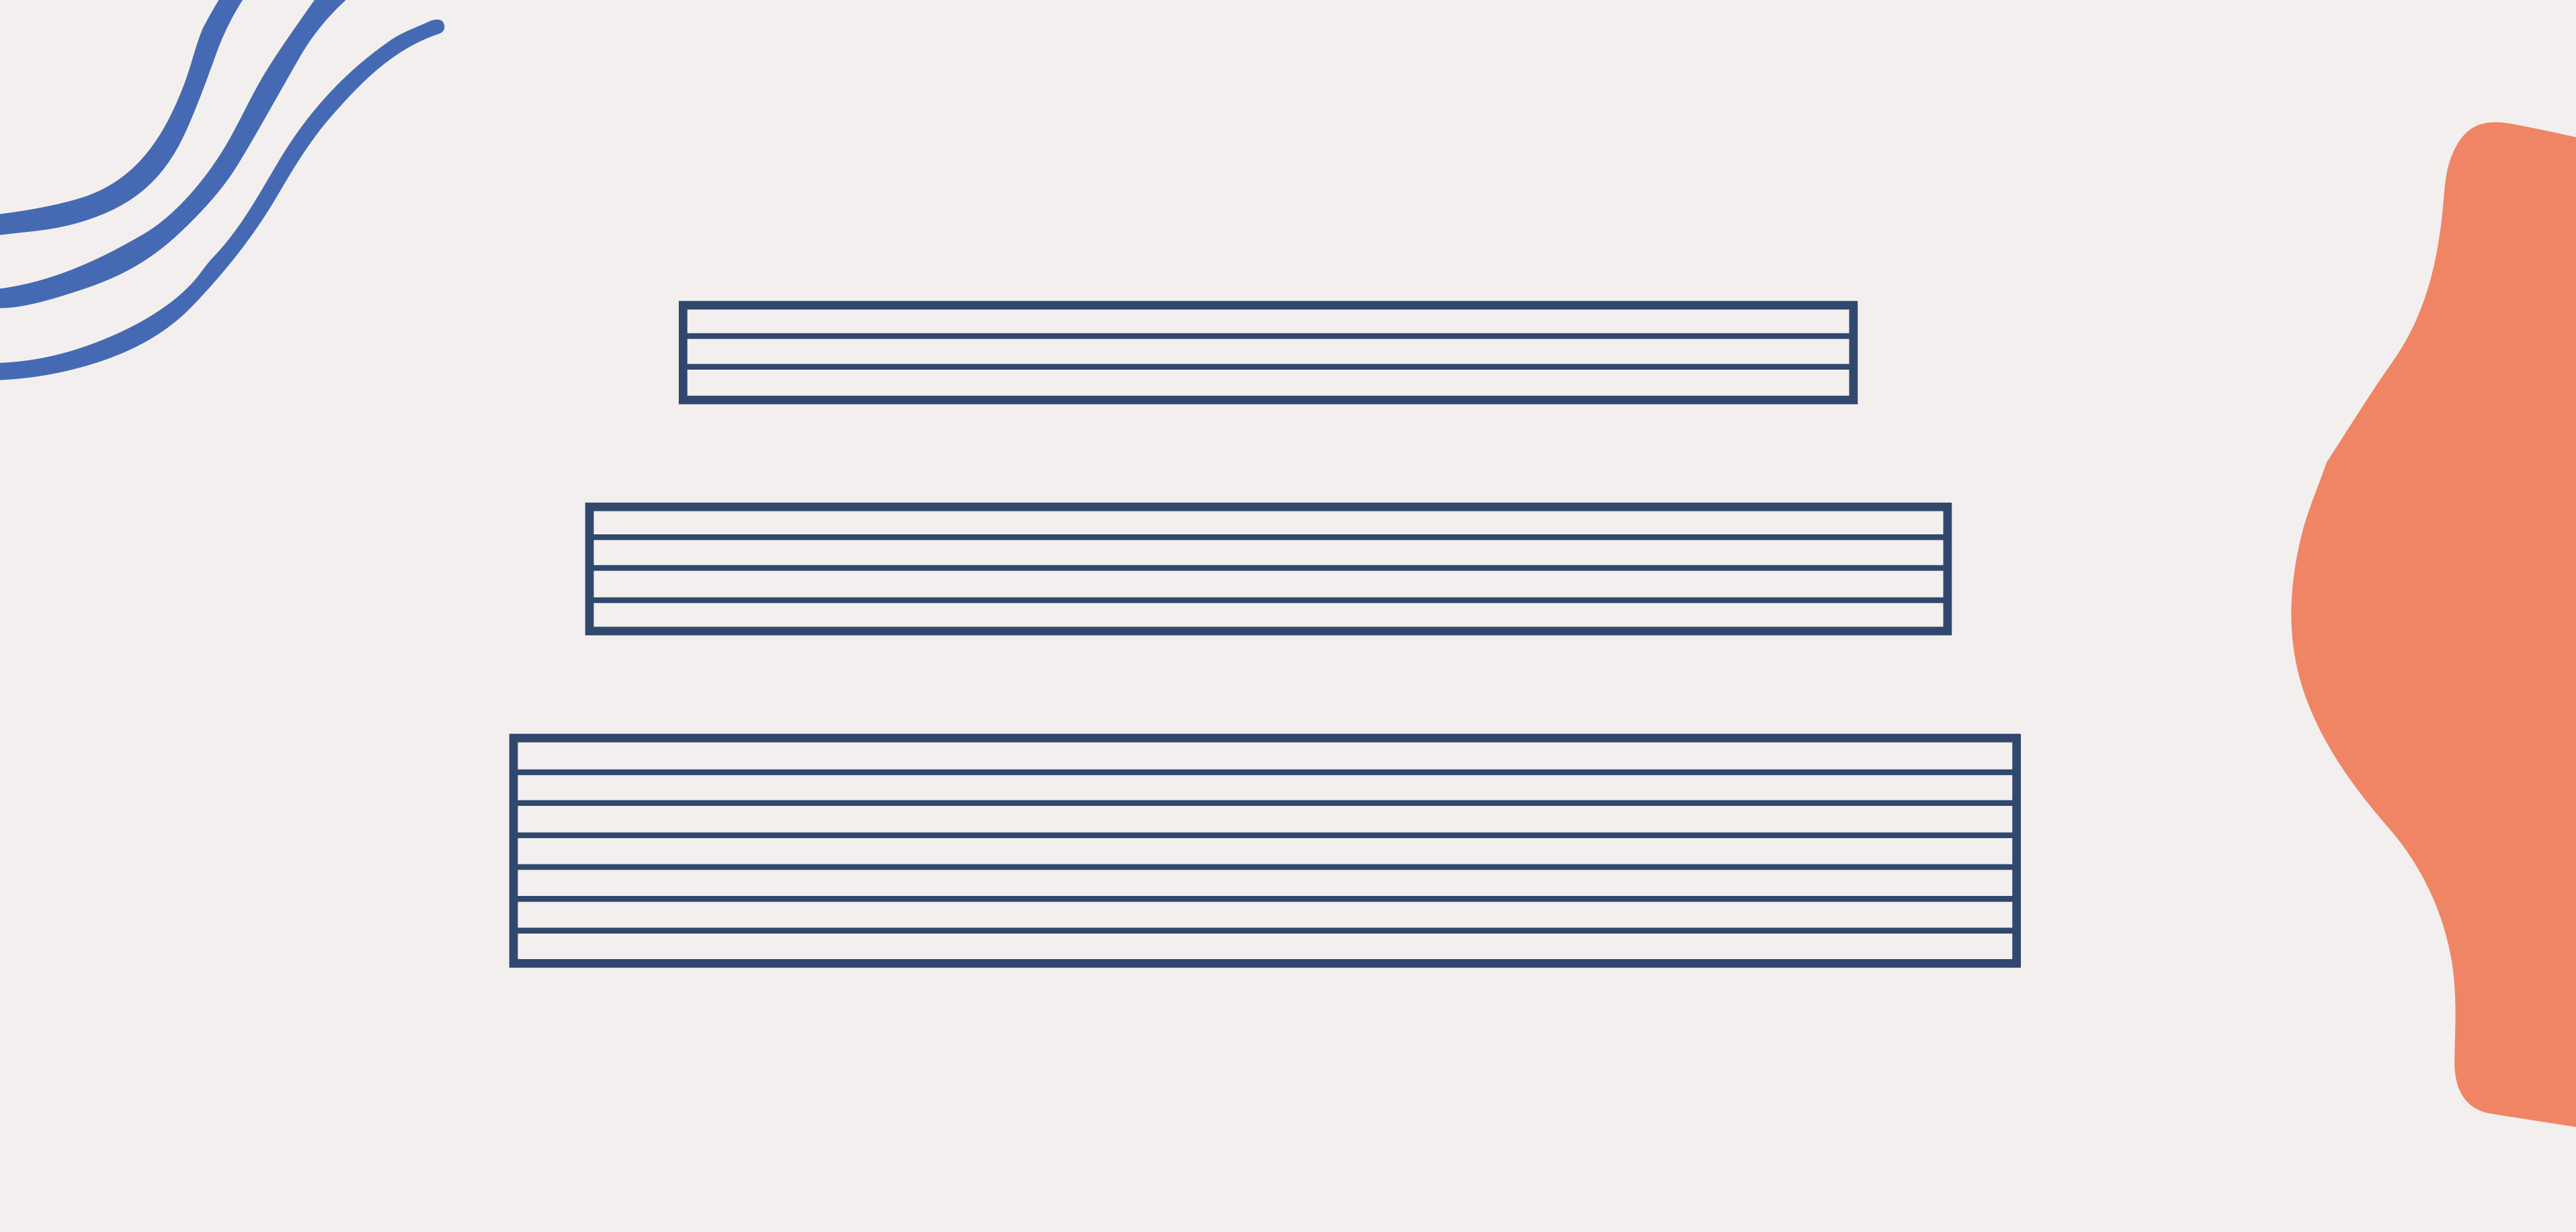
Option 2: Thin Strips of Solid Wood
Various types of trim moulding -- narrow strips of solid wood -- can hide plywood edges simply by covering them up. Screen moulding works perfectly for 3/4" plywood. For other plywood thicknesses, look for lattice strips available in several standard widths. Tack them along your edges with thin finishing nails. Fill the resulting nail holes and connection points with wood filler or spackle, then sand to blend before painting or staining.
Option 3: Edge Banding
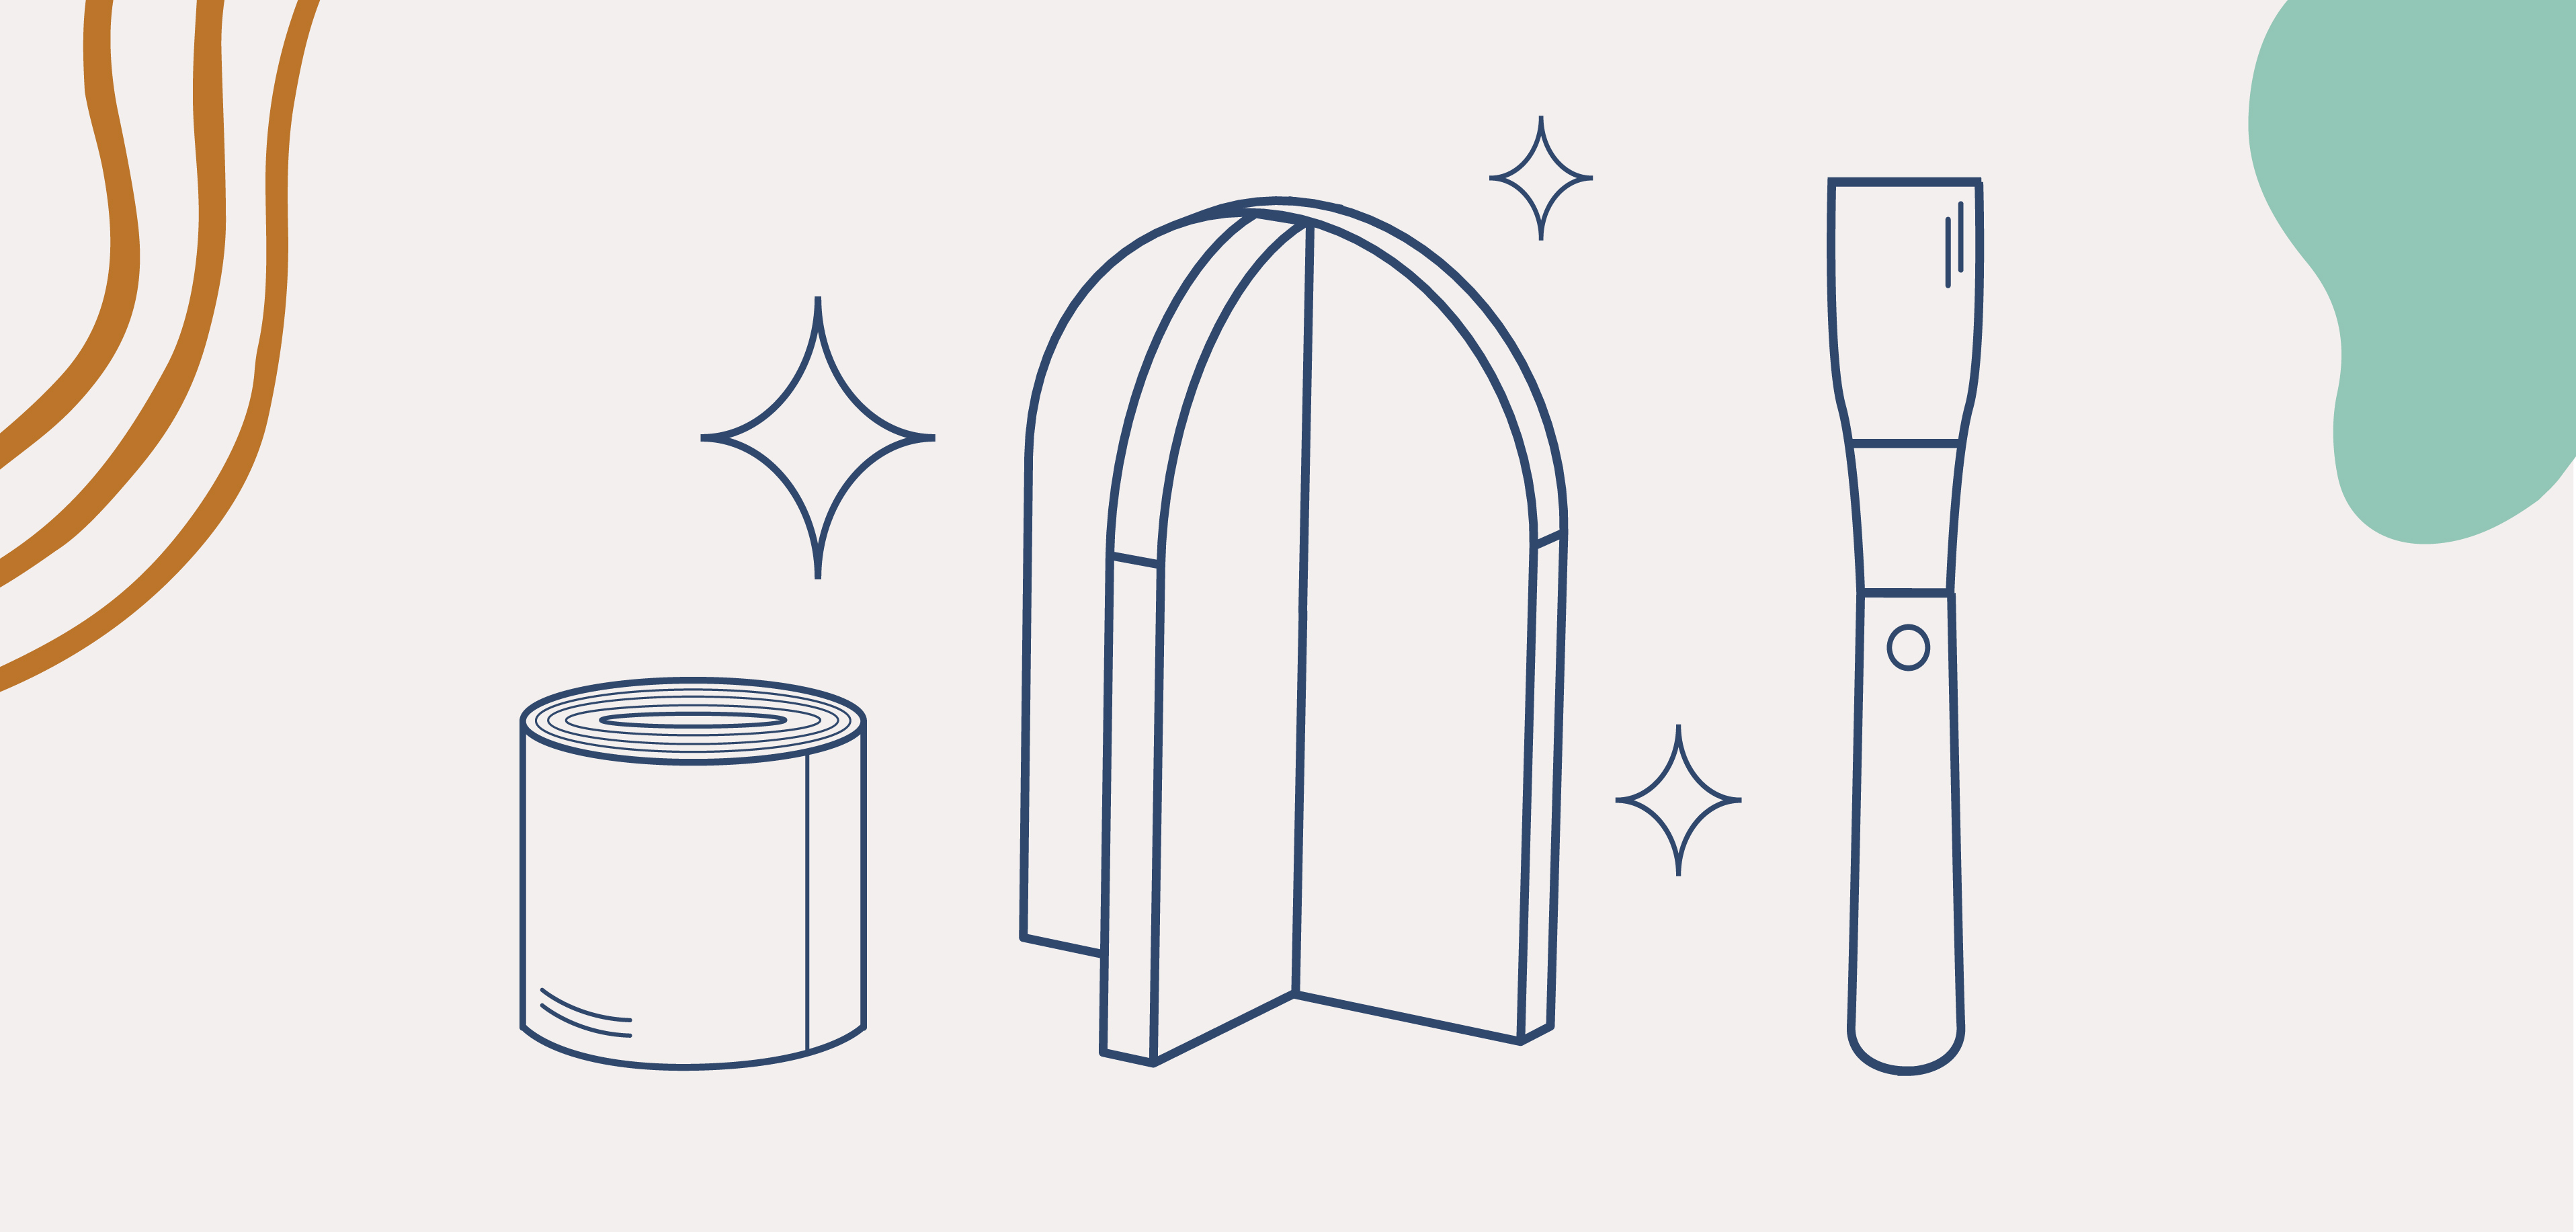
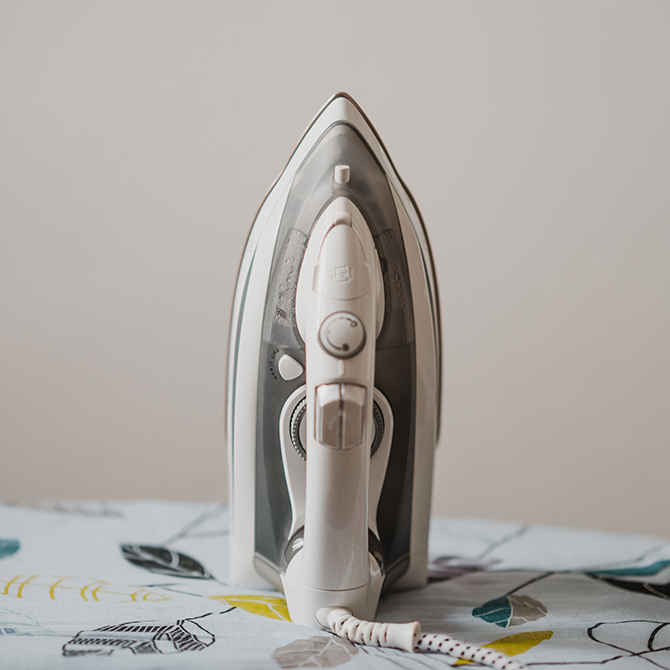
The third and last concealment strategy -- called edge banding -- covers plywood's edges with thin, narrow strips of natural wood. Bought in a roll like tape, edge banding comes in different species and widths to match your plywood, and it can be painted, stained, or simply coated with polycrylic. And the best part? It goes on super easy using a household iron, set on cotton, no steam.
To apply, simply cut a strip of edge banding an inch or so longer than your plywood and place it along your plywood edge. Then simply run your iron up and down its length, melting the dried wood glue on the underside, bonding the strip to the edge.
While the strip is still hot, run a woodblock up and down its length, applying pressure and removing air bubbles to create a tight seal with the wood. Cut off the extra and check for a strong bond along all edges and ends. If there's any lift, add more heat from your iron.
Use 220 grit sandpaper to smooth ends and edges until blended. If you discover anywhere the glue didn't bond, run your iron over it again. Finally, finish as you would any natural wood surface, including with paint, stain, or clearcoat.
In Summary
Plywood has so many great things going for it as a maker material, you should never let its plies discourage you. If you can't embrace them, cover them!
Tip:
For a painted project, a base coat/primer allows for better coverage and fewer spots where the grain shows through.