Finishing with Paint
Posted 10/20/2022 by The Handprint Team
For Best Results ... Finishing DIY Wood Projects with Paint
As new makers, we were all guilty of slapping pretty paint, willy-nilly, onto the closest wood surface and calling it a success. Start with primer? Nah. If the grain still shows after one coat, hit it again, right?
Eventually though, just making your partner and your mom proud doesn't cut it anymore. You want your projects to legit look good.
Time to learn and practice a handful of simple painting tips that'll transform your experience and your results. Follow this advice step-by-step for the smoothest paint finish possible, or take as many of the steps as time allows for a finish that’ll still be better than average.
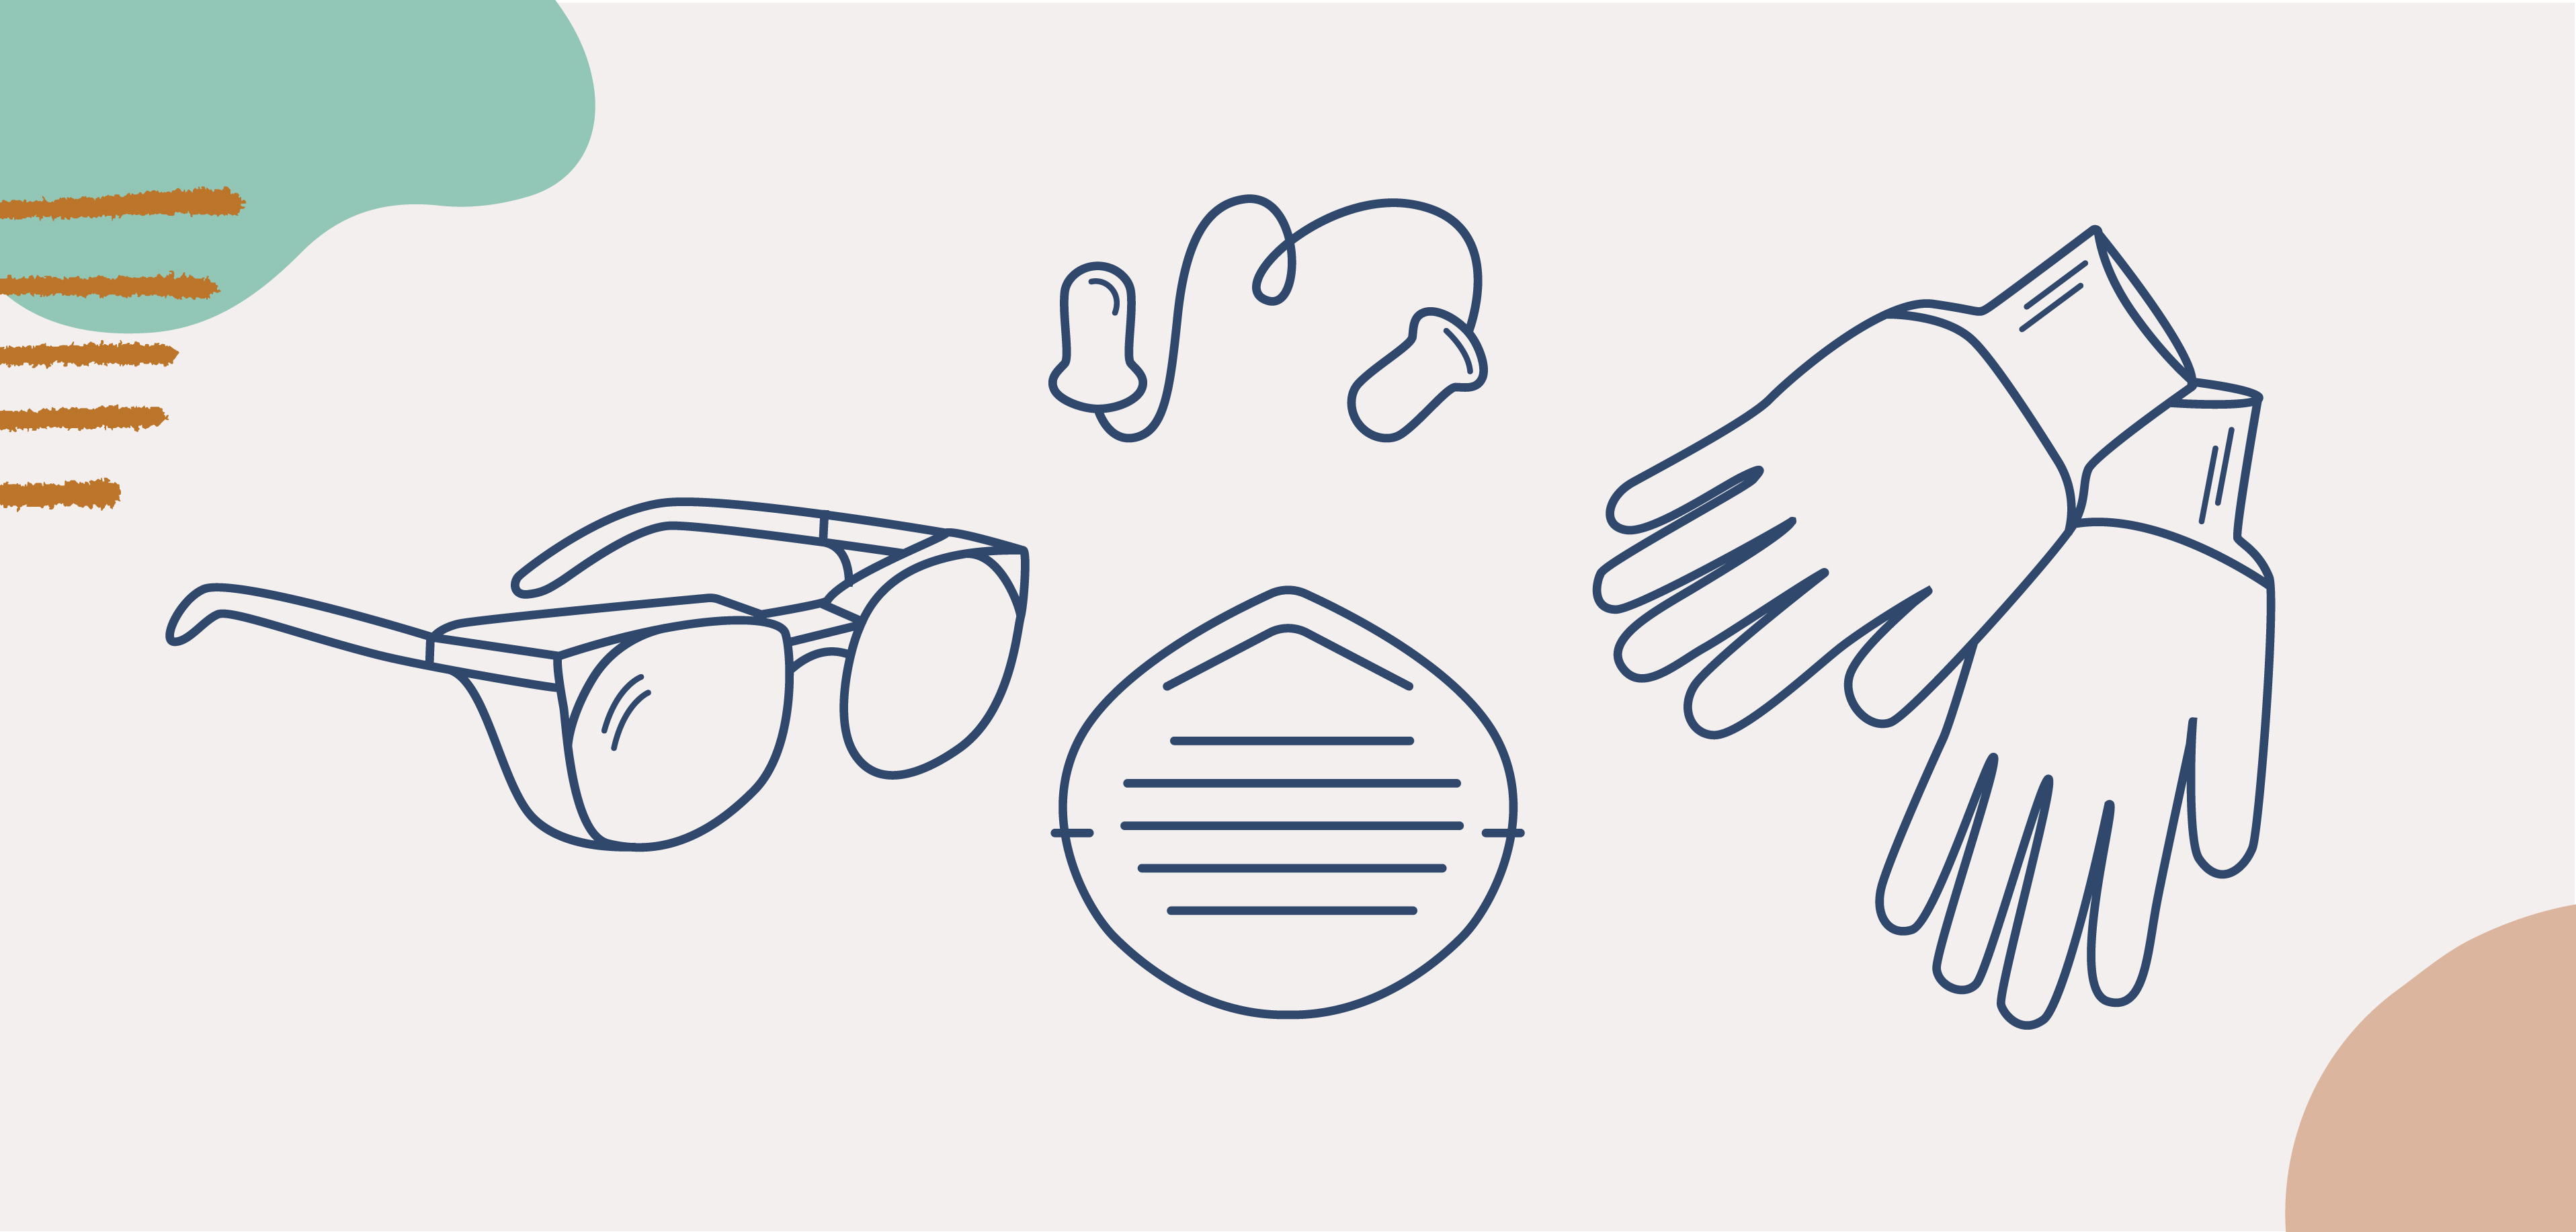
But first, gear up! Grab your safety glasses, a dust mask for sanding, ear protection if using an orbital sander, and gloves to protect those creative hands.
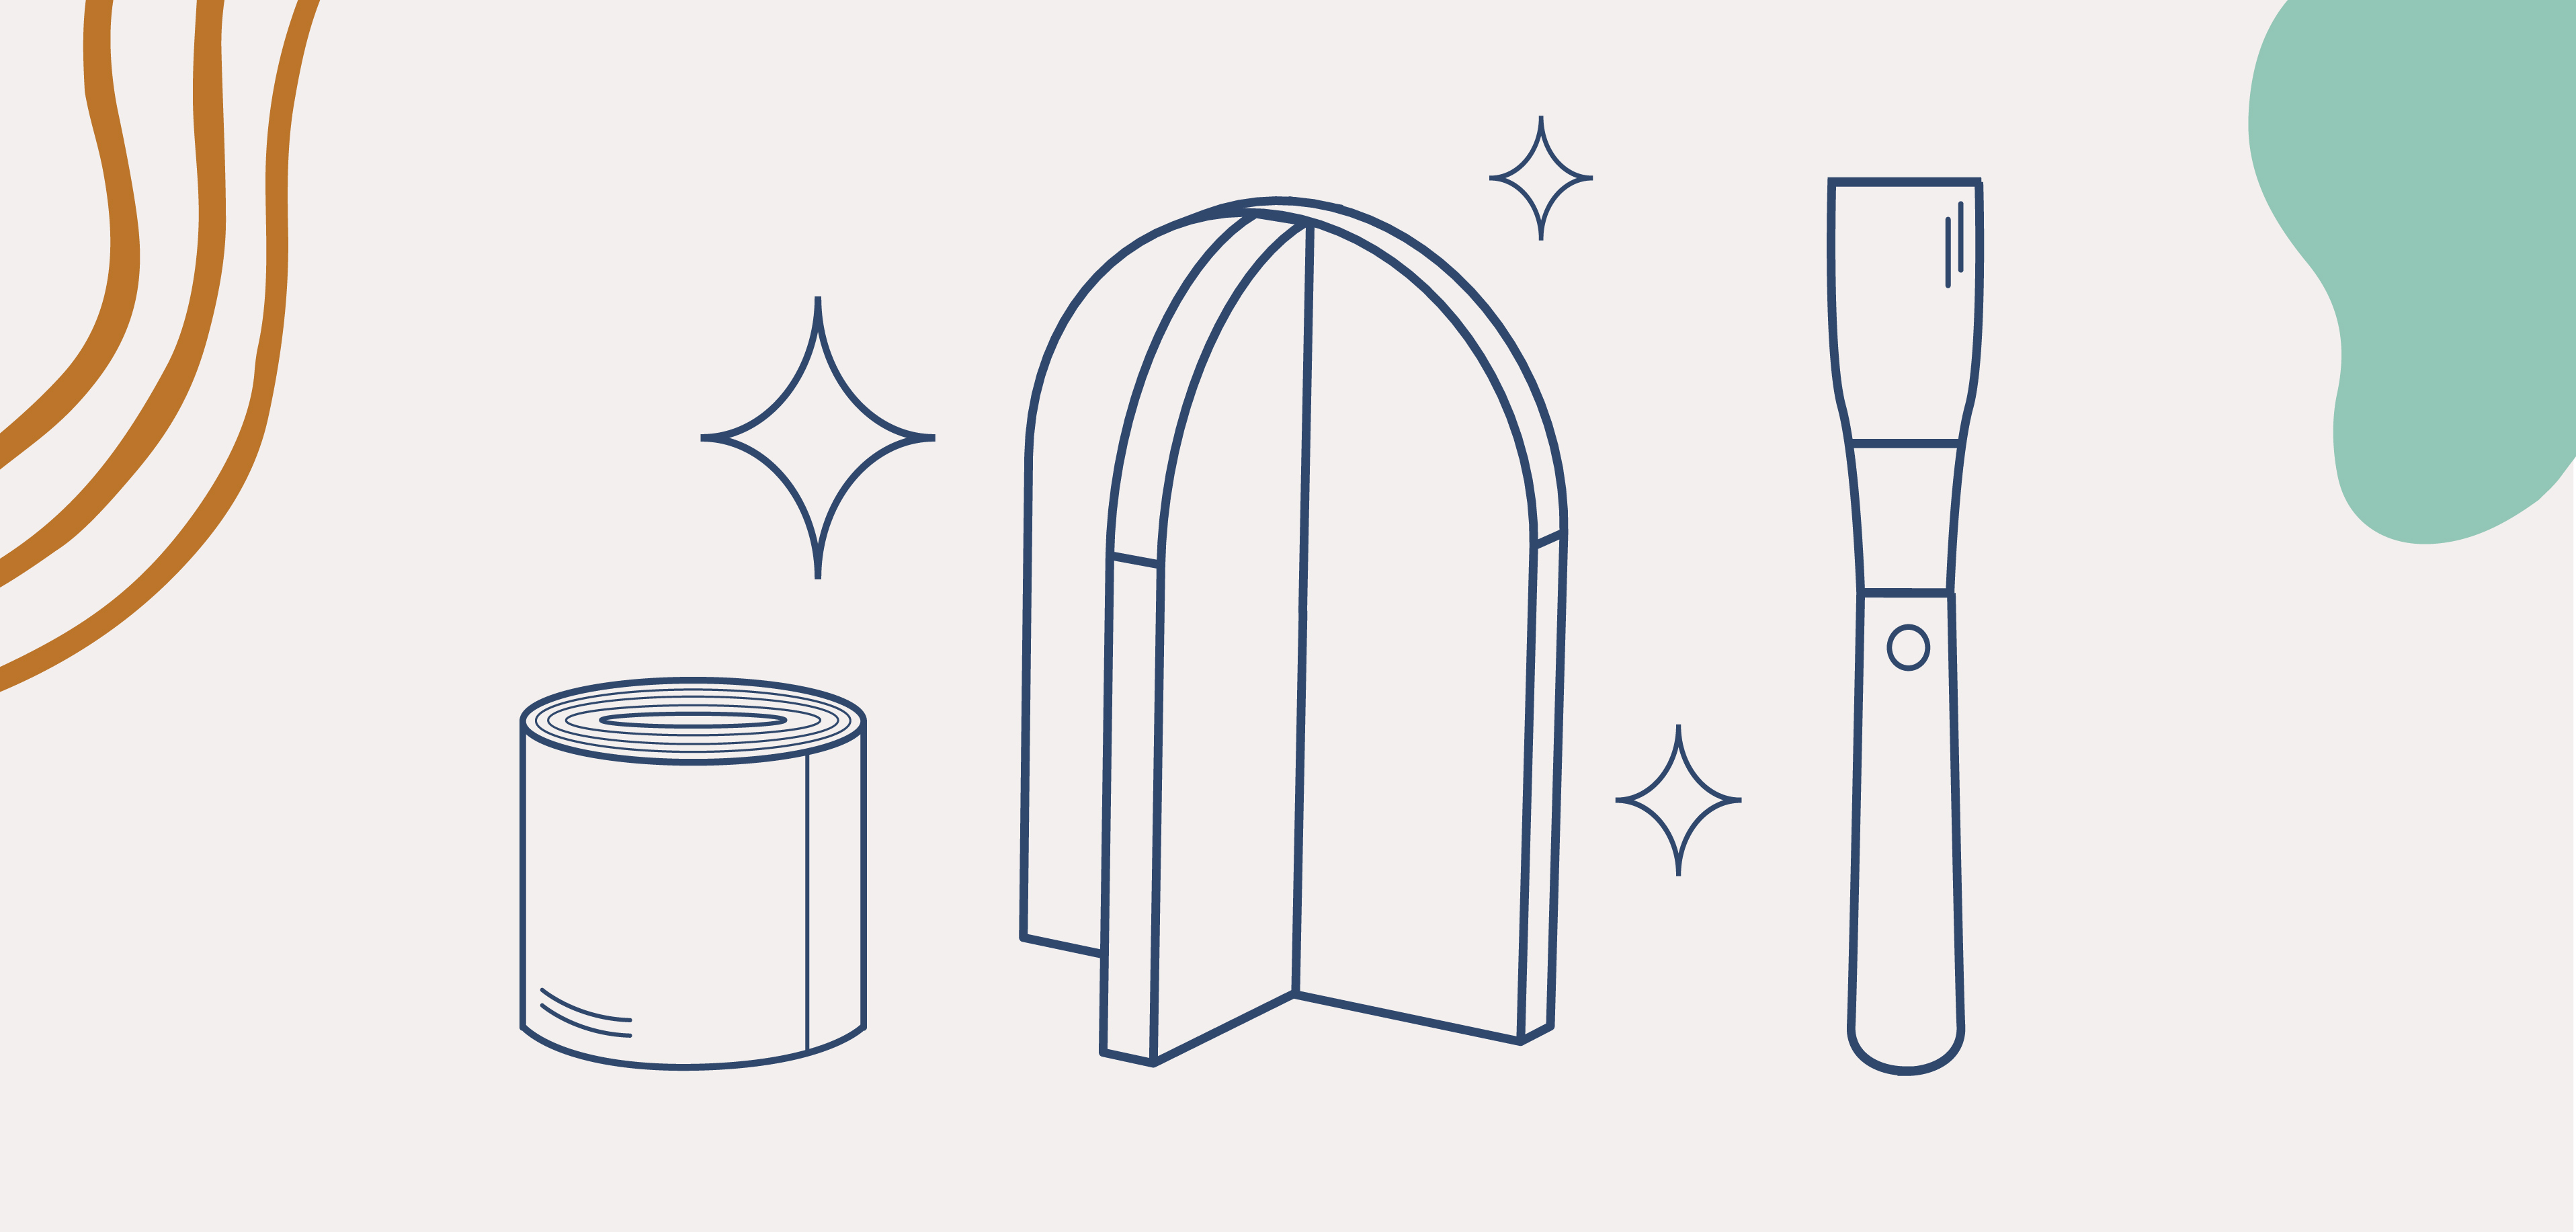
Additional supplies needed for almost any paint project include:
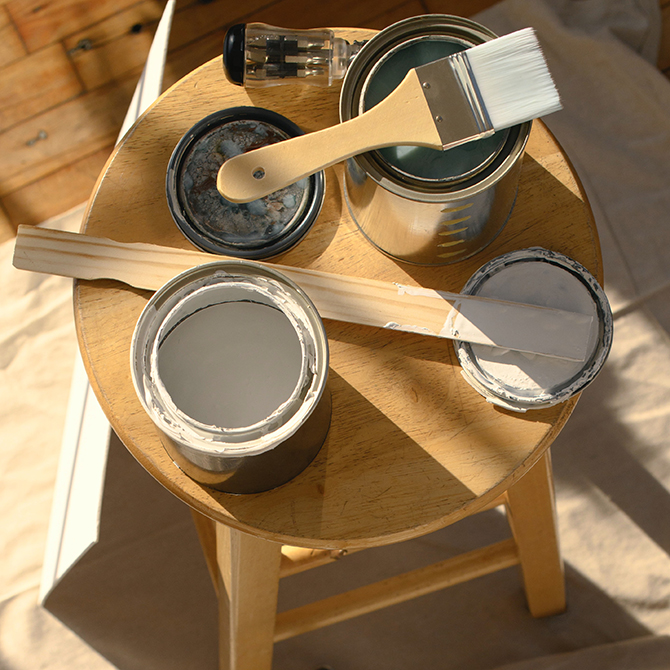
- Primer (consider a spray for quick-drying, effective coverage, especially for small or odd-shaped pieces)
- Interior, acrylic-latex paint
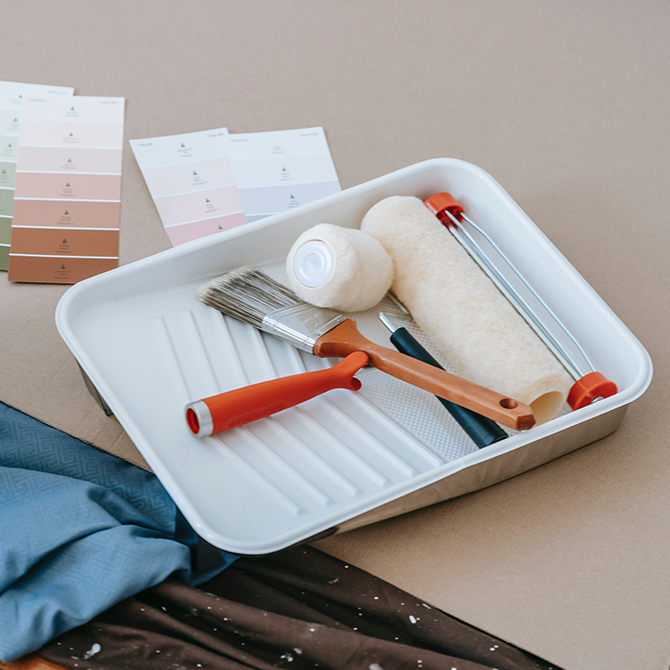
- Paint trays
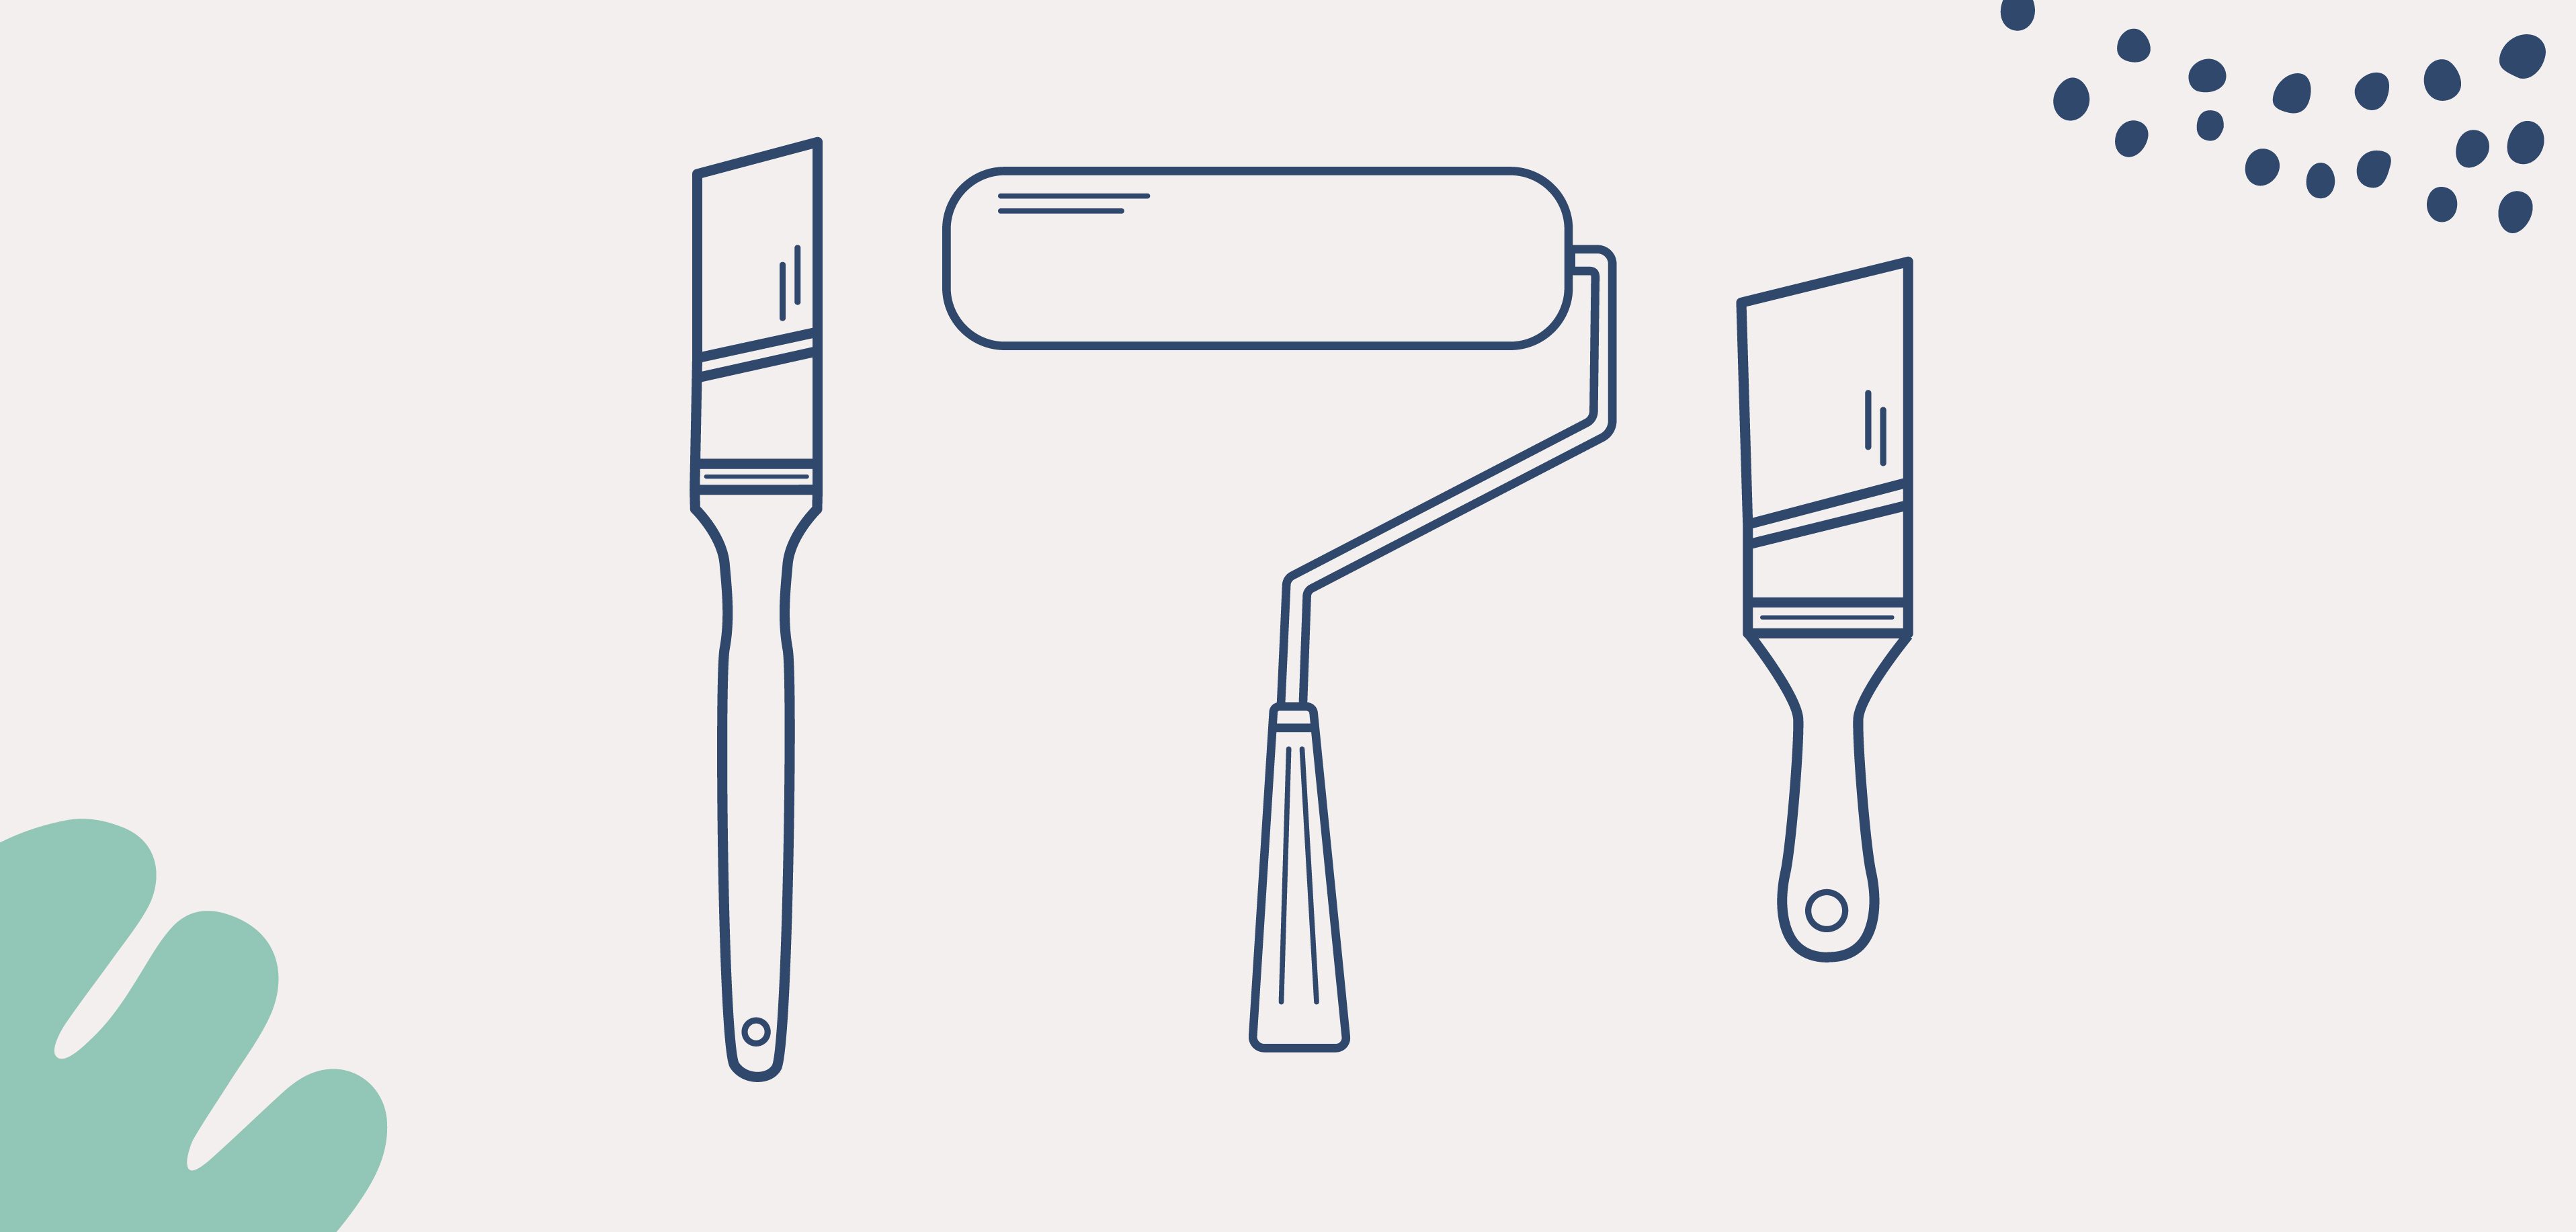
- Paintbrushes in the right sizes for your project
- High-density foam rollers in the right sizes
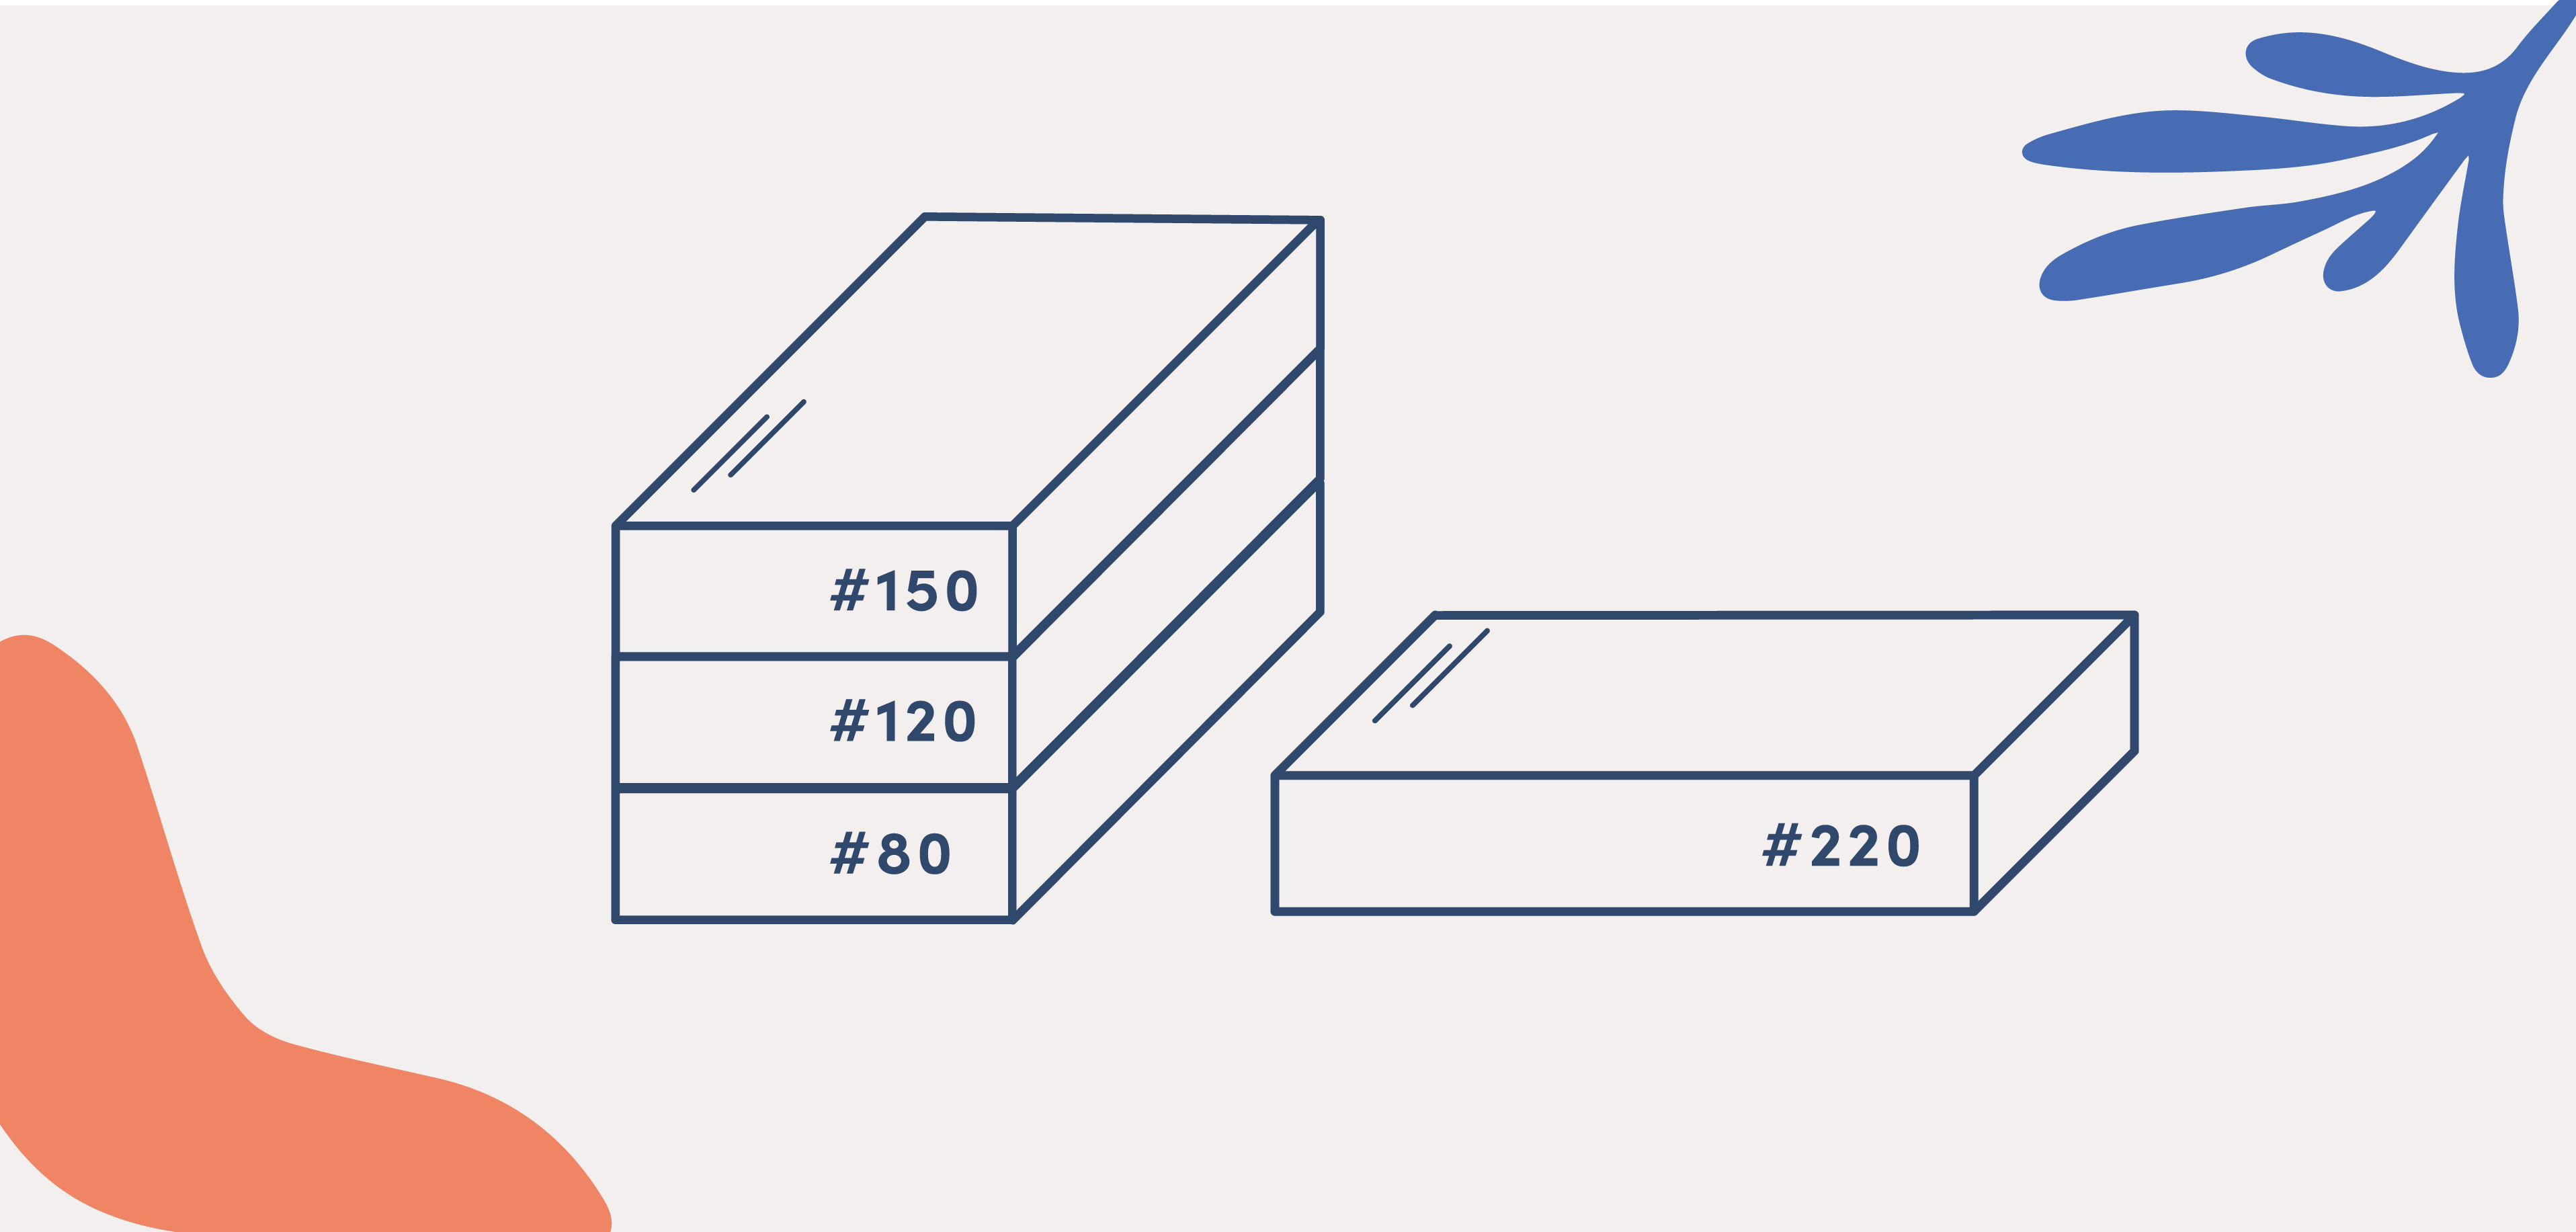
- 180- and 220-grit sandpaper
- Tack cloth/clean cloths
- Clear polycrylic protective finish (optional)
- Shop vacuum (optional)
- Random orbital sander (optional)
- Dropcloth/work surface protection (optional)
1. Prep your workspace
If you're not working in a dedicated project area, cover your work surface to protect it from sawdust, overspray, and drips.
2. Sand your wood with 180-grit
If you need a quick refresher on sanding, read our tutorial before getting too far -- because this step truly is the most critical to any well-painted project.
Start with 180-grit paper and sand every surface paint will touch. Don't skip the corners or details. You're done when your wood feels smooth and slightly fuzzy. That texture is created by micro-scratches that help the paint get a good strong grip.
Use your vacuum's brush attachment to suck up as much sawdust as possible from the surface of your project and your work area when finished. Wipe the rest of the dust from the corners and details with a tack cloth.
3. Apply wood primer
Primer performs two important functions. First, it bonds to and seals up any imperfections in your wood, creating a smooth, consistent surface for the paint to bond to. Second, it prevents flashing. Flashing is when some painted areas look shinier than others after drying.
If you're not using a spray, use a brush and roller to apply primer to every surface you'll paint. If your piece is large enough, use a roller to lay it quickly and smoothly and a brush to reach into corners and details.
Allow ample time to dry before adding a second coat or moving onto sanding. Fortunately, a thin, even layer of spray primer only takes about 10 minutes to dry, so two coats are still faster than one thicker coat from a can.
4. Sand the primer with 220-grit
When your primer is good and dry, use fine-grit sandpaper to lightly and evenly sand away the tiny bumps and bubbles. Repeat the cleanup with your vacuum and tack cloth.
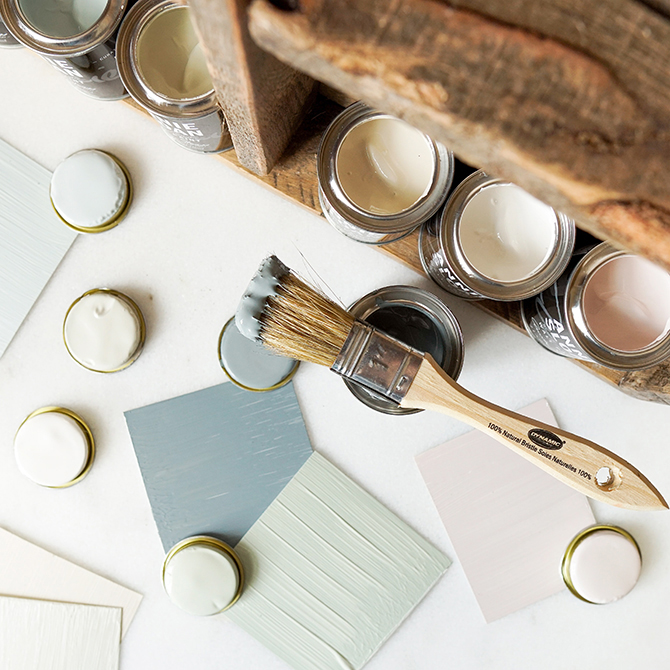
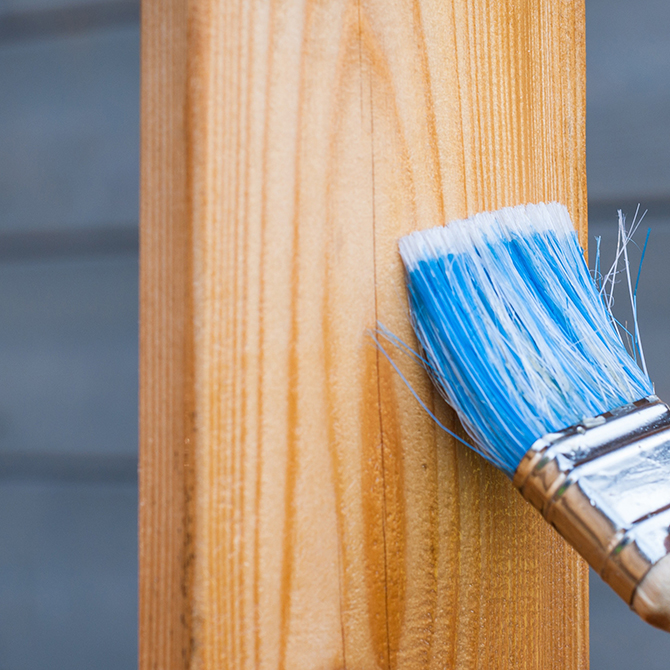
5. Apply the first coat of paint
Depending on the size of your wood crafting project, use either a brush or a roller to apply the first thin, even coat of paint. While rollers smoothly and quickly cover large flat areas, uneven surfaces are more easily painted with a brush.
With a roller, we recommend an appropriately sized tray with a slope for easy paint loading. And if using a brush, only dip the bristles into the paint about 1/2" each time.
Paint with the grain, and always allow adequate drying time before continuing on to the next step.
6. Sand the paint with 220-grit
Wait. Sand the paint too?! Yes. Even though you're sure you're ruining the beautiful job you just did on your craft wood planks, sand the paint. Repeat the dust cleanup for the last time — you’re almost there!
7. Paint it again
Apply the second and final coat to your wood canvas, then either let your project dry long enough to apply a clear protective finish before curing, or allow it to fully cure for 48-72 hours.
Final Thoughts
There's nothing wrong with taking shortcuts here and there when finishing certain unfinished wood crafts. However, if the smooth, consistent look of a gorgeous lacquer finish is the focal point of your wood DIY projects, for best results, take all the steps.
Tip:
For the neatest results, paint each of your project pieces after cutting, drilling, sanding, and wiping them down, but before assembling your project.